
Last updated September 20, 2026
Full 25-point door and opener safety check with every visit - springs, cables, rollers, tracks, and your LiftMaster or Chamberlain opener included
You get a price before we start. It does not change when the truck arrives.


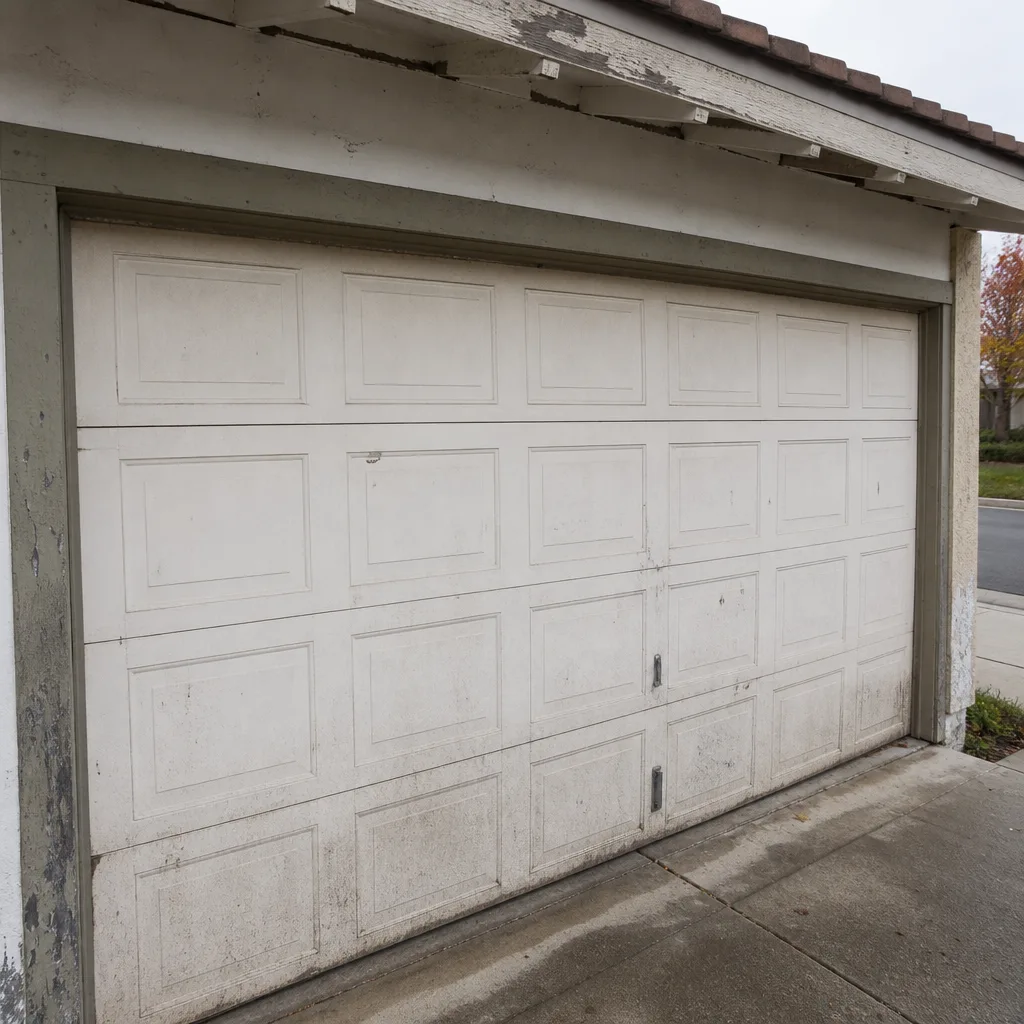 Before
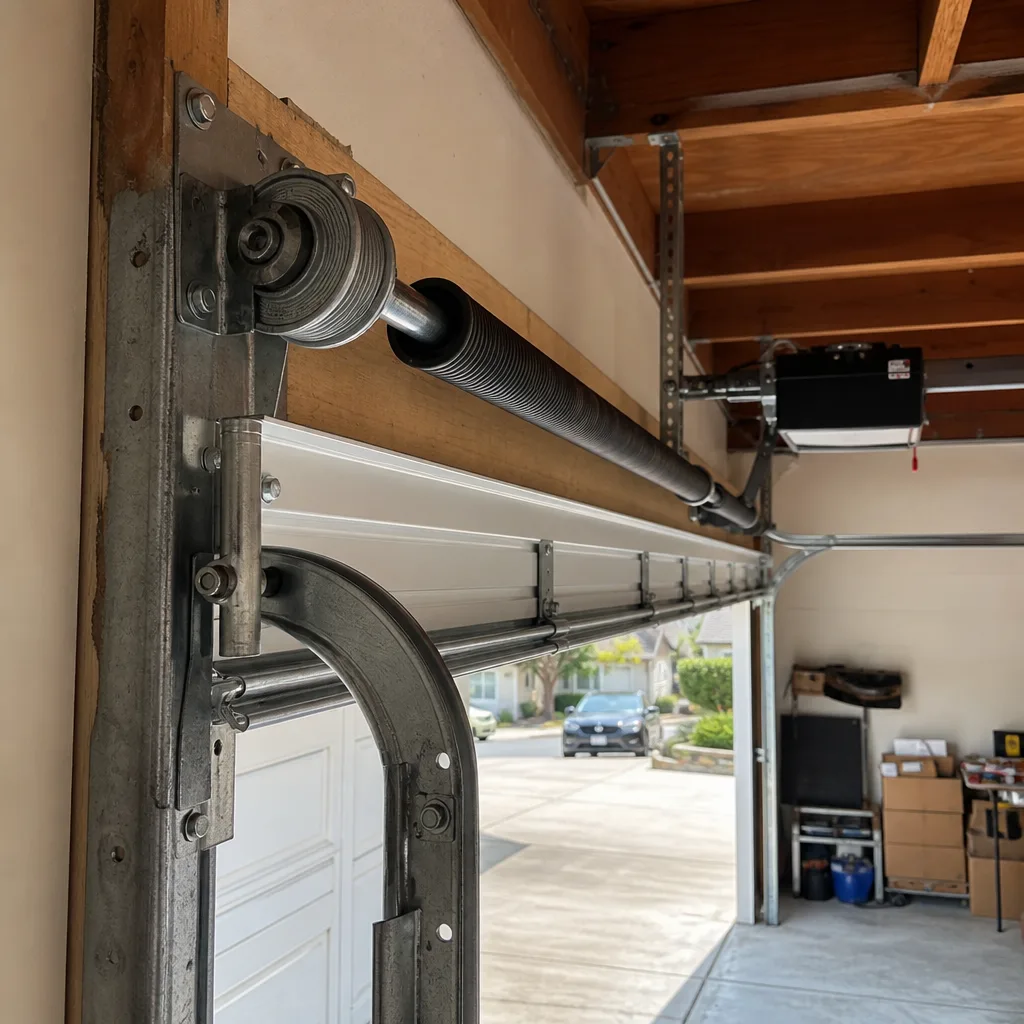 After
After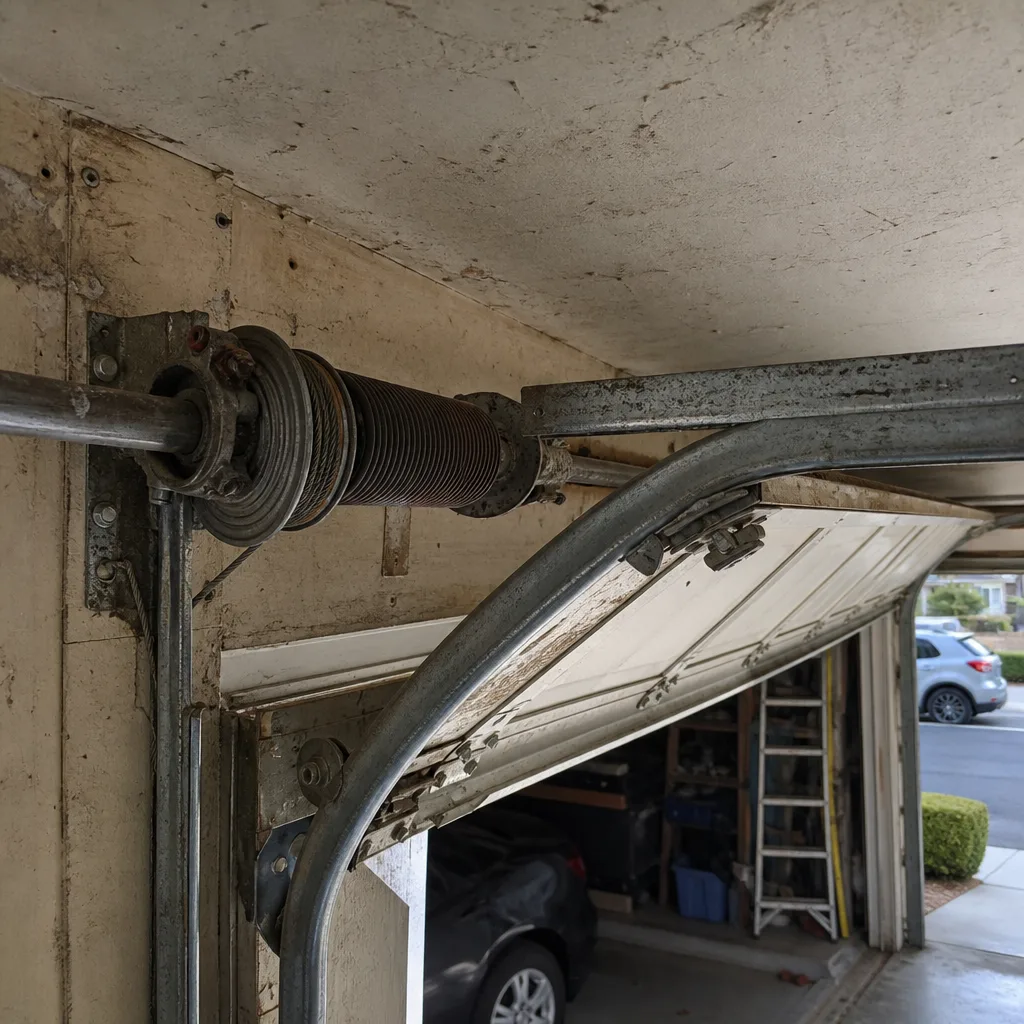 Before
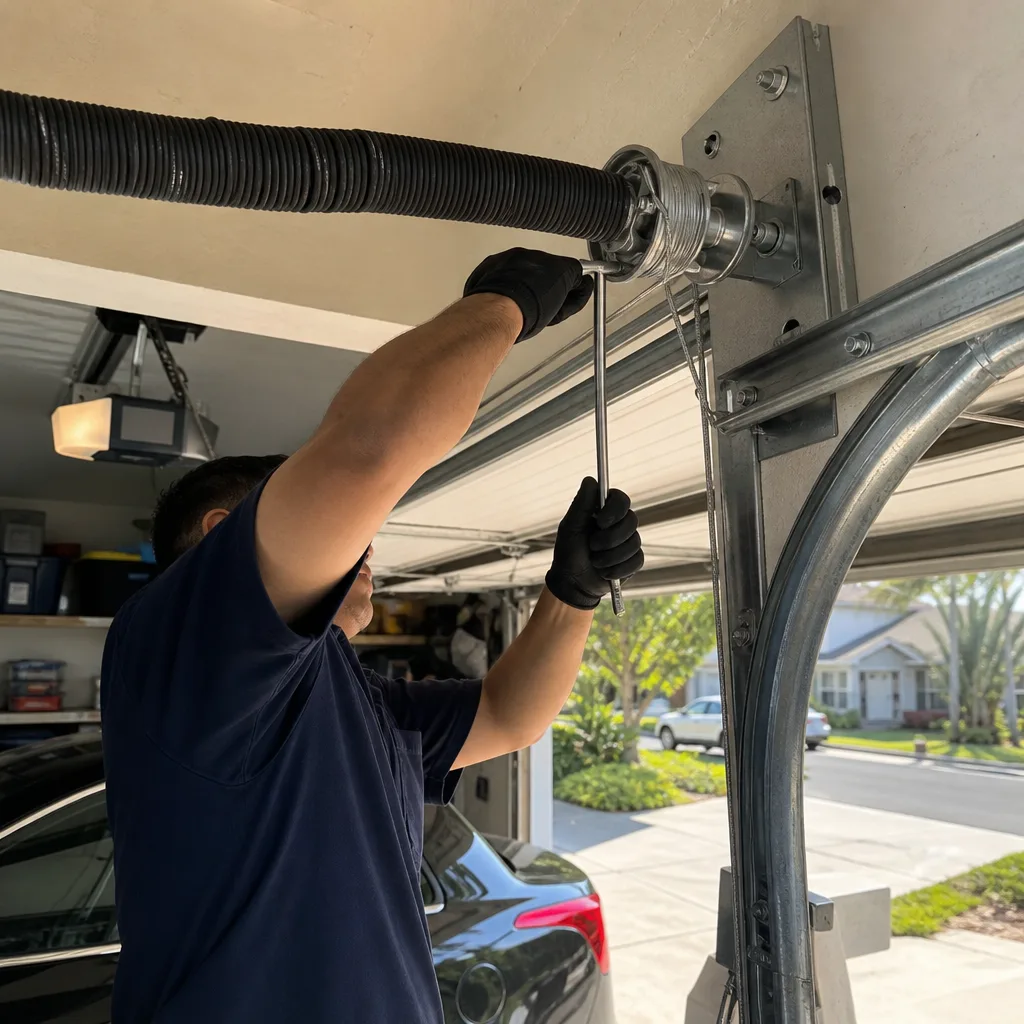 After
After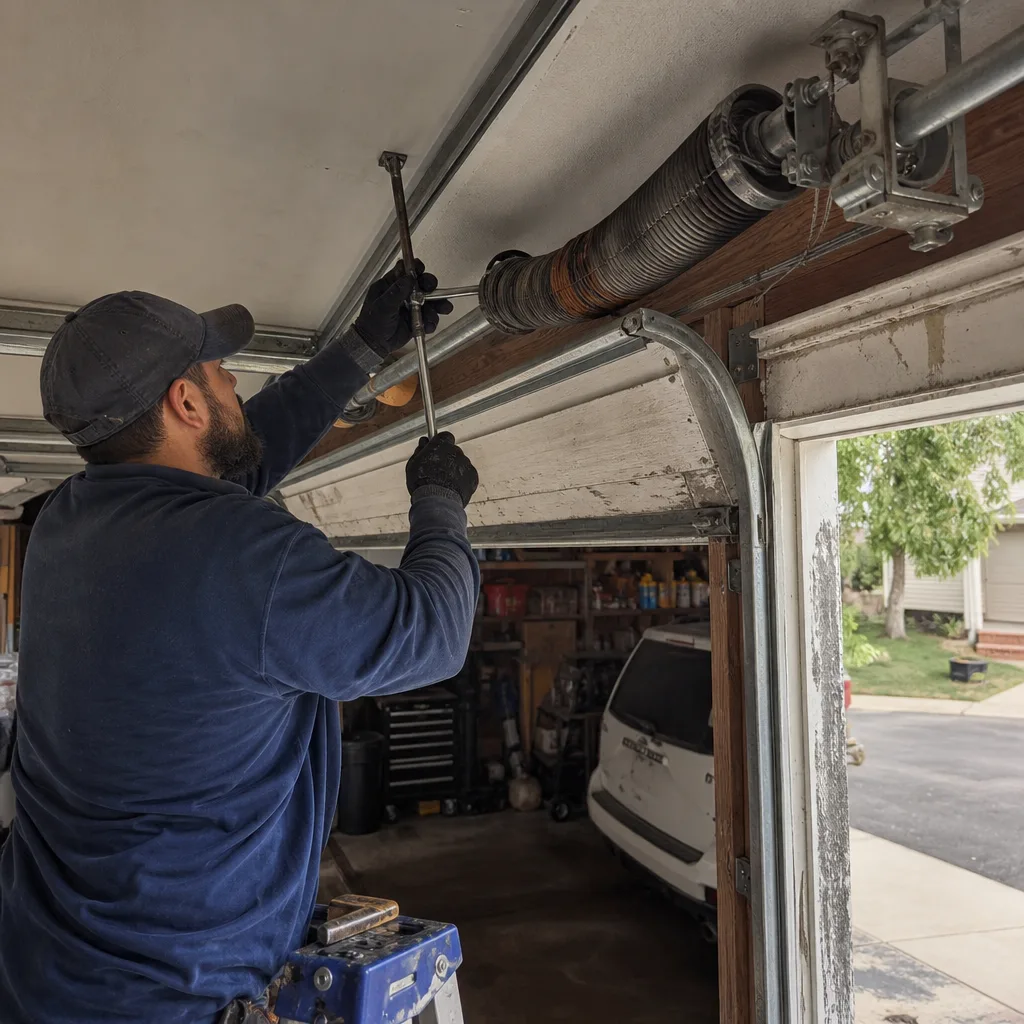 Before
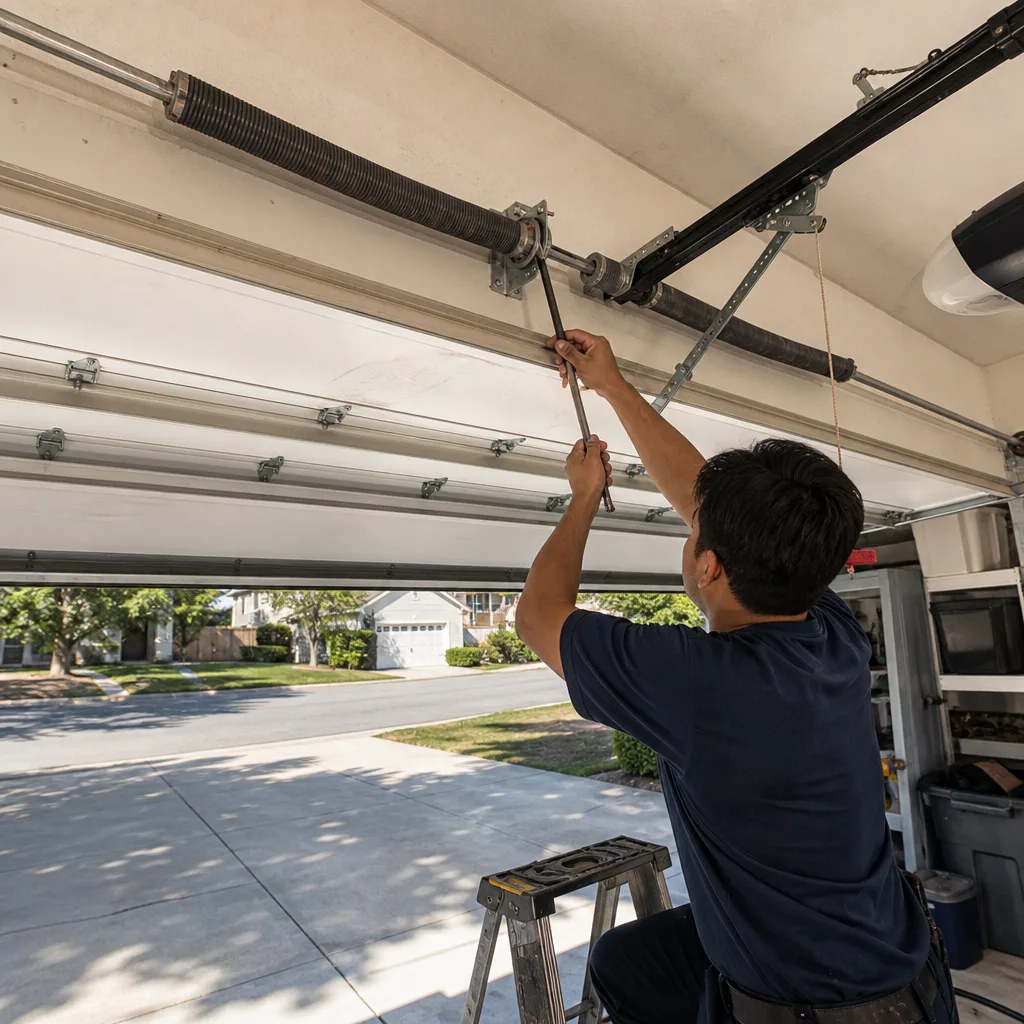 After
AfterDIY vs Professional Garage Door: The Mission Viejo Homeowner’s Decision Guide
Every garage door in Mission Viejo has a torsion spring mounted above the center of the opening. It looks like a thick metal coil, and most homeowners never think about it until it snaps. Here’s what matters: a torsion spring rated for a standard 400-pound door stores roughly the same energy as a drawn compound bow. That energy is held by a winding cone. If the cone releases while your face is in its path, it travels at striking speed. This guide isn’t about whether you can change a garage door battery. It’s about which repairs you should attempt at midnight with a socket set, and which ones require a professional because the physics doesn’t care how careful you are. By the end, you’ll know exactly where the line is, component by component, for a Mission Viejo home.
Quick Answer
Most Mission Viejo homeowners can safely handle garage door maintenance tasks like weatherstripping, bottom seal replacement, sensor realignment, lubrication, and opener remote programming. Torsion spring replacement, cable work on the drum, and any opener electrical repair should be left to a licensed professional. The dividing line is stored energy and California electrical code, not skill level or confidence. If the component stores tension, call someone. If it doesn’t, you can usually do it yourself in under an hour.
Table of Contents
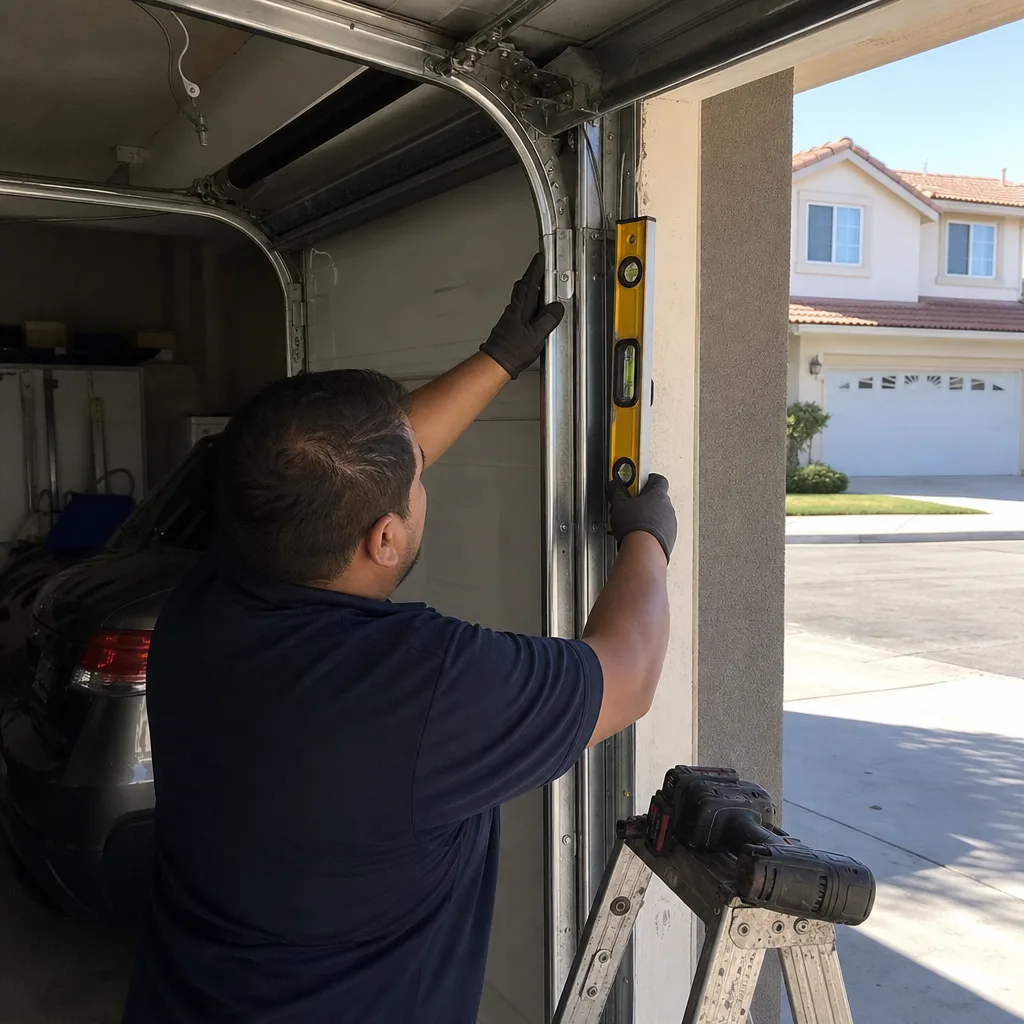
- DIY-Safe Tasks: What You Can Handle Without Risk
- Professional-Only Tasks: Where Stored Energy and Code Draw the Line
- The Torsion Spring Math: Why Winding Bars Are Non-Negotiable
- California Code and Resale: The Permit Math Most Guides Skip
- The DIY Documentation Standard: Photographing Your Work
- What a Genuine DIY Spring Job Requires: Tools and Torque Specs
- Cost Comparison: DIY vs Professional in Mission Viejo
- Common Mistakes to Avoid
- When to Call a Professional
- Frequently Asked Questions
- The Bottom Line
BeforeAfterDIY-Safe Tasks: What You Can Handle Without Risk
Let’s start with the work that’s genuinely within reach for a mechanically capable Mission Viejo homeowner. These tasks share a common feature: nothing is under tension, and nothing connects to a circuit that can hurt you. We’ve helped thousands of Mission Viejo homeowners since 2015, and the following list reflects what we regularly see done well by homeowners who own a socket set and a level.
1. Weatherstripping and Bottom Seal Replacement
Mission Viejo’s dry heat and occasional Santa Ana winds put real wear on rubber seals. The bottom seal on your door, called a U-channel or T-channel astragal depending on your door’s profile, degrades in the sun and lets dust into the garage. Replacing it takes about 30 minutes. You slide out the old seal, measure the new one against the door width, and slide it back in. If the seal is glued, use a heat gun to soften the adhesive. This job costs roughly $40 to $80 in materials and requires no special tools.
2. Photo-Eye Sensor Realignment
Those two small units mounted about six inches off the floor on either side of the opening are photo-eye sensors. They send an invisible beam across the threshold. When the beam breaks, the door won’t close. If your door reverses for no reason, first check that the sensors are pointing at each other. A small LED light on each sensor tells you the status: steady green means aligned, flickering means not. Loosen the wing nut, adjust the sensor until the light goes steady, tighten. This takes five minutes and costs nothing.
3. Lubrication
A garage door needs lubrication twice a year in Mission Viejo, ideally before summer and before winter. Use a white lithium grease on the hinges and a silicone-based spray on the rollers, the torsion spring, and the opener rail. Do not use WD-40 as a lubricant; it’s a solvent and will strip the grease that’s already there. A can of white lithium grease runs about $10 and lasts two years. This is the single best preventive task you can do yourself, and it’s documented in virtually every opener manual from LiftMaster, Chamberlain, and Genie.
4. Opener Remote Programming
Programming a new or replacement remote is a five-minute job on every major brand. The steps vary slightly. On LiftMaster and Chamberlain openers, you press the learn button on the motor unit (usually a yellow or purple square on the back), then press the remote button within 30 seconds. On Genie units, it’s similar but uses a different button location. The manual that came with your opener has the exact sequence. If you’ve lost the manual, every major brand publishes a PDF version on its website. This is purely a logic-board programming task. No tension, no code requirement, no risk.
5. Panel Dent Assessment
Mission Viejo homes built between 2015 and 2025 often have sectional doors with steel or aluminum panels. A dent from a basketball or a trash can is usually cosmetic. If the dent hasn’t cracked the panel skin and the door still balances properly, you can leave it. If the dent has puckered the panel or broken the interior steel liner, the panel can fatigue and crack further. That’s an assessment a professional can make in ten minutes during a Garage Door Repair in Mission Viejo visit. You can also photograph the dent, measure it with a tape measure, and monitor it monthly. If it grows, replace the panel. If it stays static, leave it.
Professional-Only Tasks: Where Stored Energy and Code Draw the Line
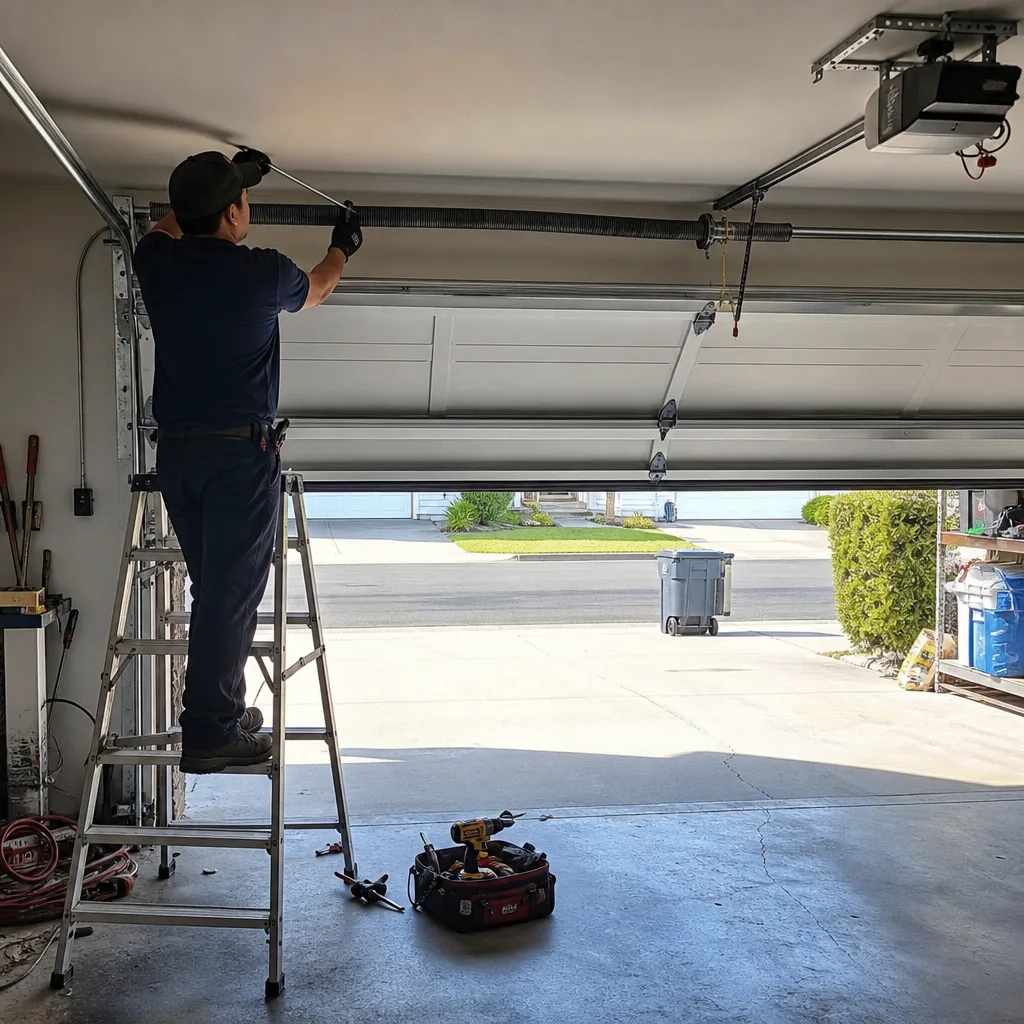
Now the line. The following tasks are not DIY-suitable for any homeowner, regardless of mechanical aptitude. The reasons are specific: stored energy, California code compliance, or electrical safety. Not one of these is a judgment call.
Torsion Spring Replacement
The torsion spring is the coiled steel tube mounted above the door. It counterbalances the door’s weight so the opener only has to move about 10 to 15 pounds of it. When a spring breaks, the energy stored in the spring releases violently. A Mission Viejo homeowner asked us recently how hard it is to replace a spring with a socket set. The honest answer: the spring is under between 100 and 200 foot-pounds of torque depending on the door’s weight and the spring’s wire diameter. That tension is held by two set screws on the winding cone. If you loosen the wrong screw at the wrong point in the winding sequence, the cone spins with enough force to break fingers, wrists, or facial bones. The repair requires winding bars precisely sized to the winding cone’s holes, not socket extensions or screwdrivers. We never recommend this as a DIY task. The risk is not mitigated by watching a video of someone doing it; the risk is mitigated by the tool and the sequence, and if you don’t have both, the spring wins every time.
Cable Re-Spooling on the Drum
Each side of a sectional door has a steel cable that runs from a bottom bracket up to a drum at the top, where it wraps and unwraps as the door moves. When a cable comes off its drum, it’s usually because the spring lost tension or the door hit an obstruction. Re-spooling the cable onto the drum requires winding the spring back to set tension first, then lacing the cable into the drum grooves while the door is in the full up position. That means working on a tensioned spring system. If the cable is off the drum, the spring still holds significant torque on one side. Re-seating the cable without releasing the spring correctly can cause the cable to whip. Professional risk profile, not DIY.
Header Bracket Lag Placement
When a garage door opener is installed, the motor unit hangs from a bracket screwed into the header above the door, which is the horizontal beam that carries the wall load over the opening. In Mission Viejo’s older neighborhoods, many headers are solid wood, but in newer construction the header is often an engineered beam or a structural steel angle. Lag bolts must be at least 3 inches long and driven into solid framing at specific points, not into the sheathing or the trim. If the bracket pulls out of the header mid-cycle, the opener drops and the door can come down uncontrolled. This is a structural connection, and it’s regulated by California Building Code Section 6101 for garage door installations. It’s not a hand-tighten job.
Opener Circuit or Logic Board Work
Any repair that requires opening the opener’s motor unit, replacing a capacitor, tracing a limit switch fault, or rewiring a circuit board falls under electrical work. The opener is a 120-volt appliance. Mission Viejo is under the City of Mission Viejo’s municipal building permit requirements for electrical work, and California Electrical Code applies. If you replace a logic board on a LiftMaster or Chamberlain unit and the door then operates unpredictably, you’ve introduced a code violation and a safety hazard that any future buyer’s home inspector may flag at resale. Leave this to someone who carries the liability.
The Torsion Spring Math: Why Winding Bars Are Non-Negotiable
Here’s the component-level reasoning behind the line we just drew. A standard residential torsion spring for a 16-by-7-foot door that weighs about 200 to 250 pounds is wound to roughly 110 to 140 quarter-turns. Each quarter-turn adds tension. The spring is rated not for the door’s full weight but for roughly half of it, because there are usually two springs working together. That’s the physics: the springs collectively store the counterbalance force. If one spring snaps, the other holds half the load, and the door becomes heavy on one side.
Now the tool issue. Winding cones have four holes drilled radially around the circumference, spaced at 90 degrees. Professional winding bars are machined steel rods, normally 18 to 24 inches long with a precise diameter that matches the cone’s holes, typically 1/2 inch. They slide fully into the holes. The technician winds one quarter-turn at a time, alternately using two bars so one is always fully seated before the other is removed. The bars are the difference between controlled torsion release and uncontrolled cone spin. Socket extensions are not the same. Screwdrivers are worse. A homeowner who uses an improvised bar risks having the bar slip out while the cone is under partial load. The cone will rotate violently, and the bar becomes a projectile. This is not a caution; it’s the mechanics of the system. If you don’t own real winding bars, do not touch a torsion spring. And even with real bars, the safe sequence requires winding in a specific direction (up on the left side, down on the right, or the reverse depending on the spring’s coil direction) and locking the set screws at a specific torque. Get any one step wrong and the spring releases. This is why we draw the line here, at the component, not the project.
California Code and Resale: The Permit Math Most Guides Skip
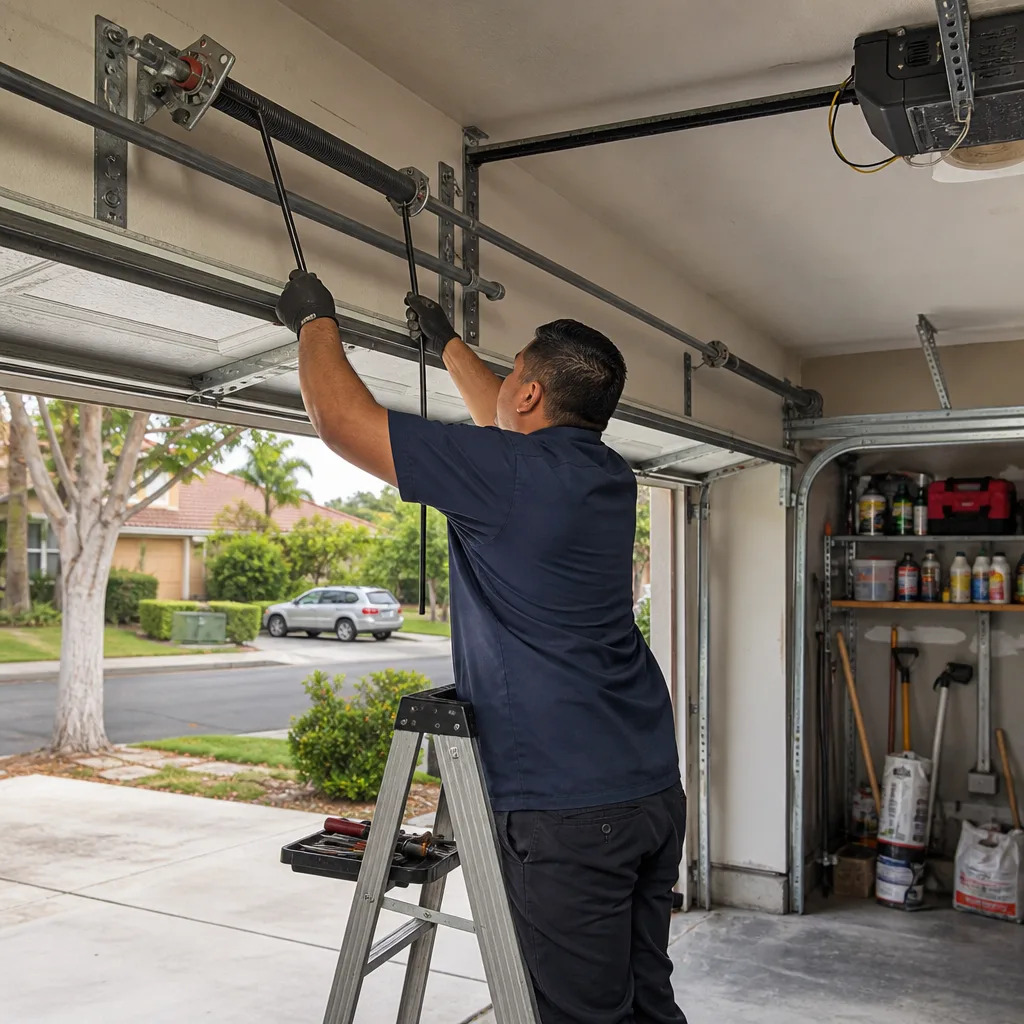
Most DIY-vs-professional guides frame the question as labor cost. They skip the permit math. In Mission Viejo, any garage door opener installation or structural modification to the door opening requires a building permit under the City of Mission Viejo’s current adopted codes. If you install an opener yourself and skip the permit, you’ve created a code violation that exists on paper, tied to the property’s address. When you sell the home, the buyer’s inspection may flag the unpermitted work, and now the cost to fix it includes a retroactive permit, an inspection fee, and potentially a correction if the install doesn’t meet current code.
Let’s do the actual math. A DIY opener installation might save you $200 to $300 in labor over a professional installation. A permit correction at resale, if the work doesn’t pass, can run $500 to $1,500 depending on what needs to be brought up to code. That’s a negative return on your labor. Even if the work passes, you’ve spent your time to save money that gets spent at closing. The guides that skip this calculation are giving you half the answer.
This is relevant in Mission Viejo specifically because a large share of the housing stock is single-family detached homes in communities like Aegean Heights, La Paz, Casta del Sol, and Pacific Hills. These are resale markets. Buyers in these neighborhoods order home inspections, and garage door openers are one of the most commonly flagged items when the install lacks a permit sticker or the equipment is older than the building records show. The conclusion: do the maintenance tasks yourself, but any structural or electrical work worth doing is worth doing with a permit, and that means hiring a licensed professional who manages the permit as part of the written scope.
The DIY Documentation Standard: Photographing Your Work
Here’s the one practice that almost no garage door guide tells you to do. Photograph everything. Whether you’re replacing a bottom seal, regreasing hinges, or demonstrating that a dent predates your ownership, the photos are your record. We’ve operated under a written-price-first system since 2015, and the founding rule was simple: photograph the failed part before quoting a replacement. Clause 4 of The Haven Standard codifies this. Every visit closes with a documented photo record. You can apply the same standard to your own work.
Here’s the sequence. Before you start, photograph the door in the open position, the closed position, and each component you’re about to touch: the rollers, hinges, sensors, spring, cables, and the opener unit. These photos document the pre-existing condition. If a spring later fails and the technician says the door was previously damaged, you have evidence of what it looked like before. During the work, photograph the new part before installation and after installation. Use a tape measure in the frame for scale. After the work, photograph the door cycling through a full open-and-close. Store these photos in a folder with the date and the part name. If you ever sell the home or file a warranty claim, this photo record is evidence. It’s also exactly what we deliver on every professional visit, so if you hire us after doing some of your own work, the transition is clean: your record and our record match. That’s the documentation standard, and it protects you in a way that memory cannot.
What a Genuine DIY Spring Job Requires: Tools and Torque Specs

For the homeowner who has read this far and still wants to understand what a torsion spring job genuinely involves, here’s the tool list and the torque numbers. We’re not giving you instructions; we’re showing you the barrier to entry. That barrier is the answer.
- Winding bars: Two solid steel bars, 1/2-inch diameter, 18 to 24 inches long, with full-length shaft and no flex. Cost: roughly $40 for a pair. Imitating these with anything else is the single most dangerous mistake in garage door DIY.
- Torque wrench: The set screws on a winding cone are torqued to 14 to 18 foot-pounds on most residential springs, depending on the manufacturer’s spec for the specific cone. A torque wrench that reads in that range costs roughly $60.
- Safety glasses rated for spring ejection: Not basic safety glasses. ANSI Z87.1 high-impact rated. Cost: $10 to $30.
- Gloves with full finger coverage and leather palms: The wire coils can pinch or cut. Cost: $15.
- Two vise grips or C-clamps: These lock the door in place above your head while you work, so it cannot drop if a cable slips. Cost: $20.
- A second person: A spring job involves holding a 200-pound door in position while winding. Doing this alone is how doors fall and hands get trapped.
Now the torque math. A 0.225-inch wire diameter spring wound to 7.5 turns holds approximately 100 to 120 foot-pounds of torque. A 0.250-inch wire spring at the same turn count holds more. The set screw on the winding cone is the only thing holding that torque. If the set screw is undertorqued, the cone slips and the door drops or the spring unwinds. If it’s overtorqued, the screw can crack the cone. Neither outcome is forgiving. You’re not just turning a wrench; you’re transferring stored energy through a 1/2-inch steel bar into a set screw that must hold. The skill isn’t the winding; the skill is the judgment about when the torque is right, and you only develop that judgment by doing it many times, which is what a professional technician does week after week.
Cost Comparison: DIY vs Professional in Mission Viejo
Let’s put dollar figures on this in Mission Viejo’s market, using ranges we see regularly. The line items below are based on common residential setups across Mission Viejo neighborhoods including Aegean Heights, La Paz, and Pacific Hills.
DIY-Safe Tasks: Material Cost vs Professional Cost
- Bottom seal replacement: DIY $40-$80, Professional $120-$200. DIY saves $40-$160.
- Photo-eye sensor realignment: DIY $0, Professional $75-$120 for a service call. DIY saves the entire call-out.
- Lubrication: DIY $10-$20 for grease and silicone spray, Professional $75-$150 for a full-service lube. DIY saves $55-$140.
- Remote programming: DIY $0, Professional $60-$100. DIY saves it all.
Professional-Only Tasks: Typical Mission Viejo Pricing Ranges
- Torsion spring replacement (pair): $250-$450 including parts and labor, depending on spring wire diameter and cycle rating.
- Cable replacement and re-spooling (both sides): $150-$275 including parts and labor.
- Opener replacement with permit: $500-$900 depending on opener brand and rail type. Includes permit management in Mission Viejo.
Our pricing model is what it is because of Clause 1 of The Haven Standard: a flat, written price and written scope delivered before any work begins. The price is quoted and agreed before the tech touches the door. You’re never bidding against yourself. If you bring a written estimate from another Mission Viejo company, we’ll give you a Free Second Opinion on it. Bring the paperwork, no coupon needed. This applies to any garage door work, including full Garage Door Installation in Mission Viejo projects.
Common Mistakes to Avoid
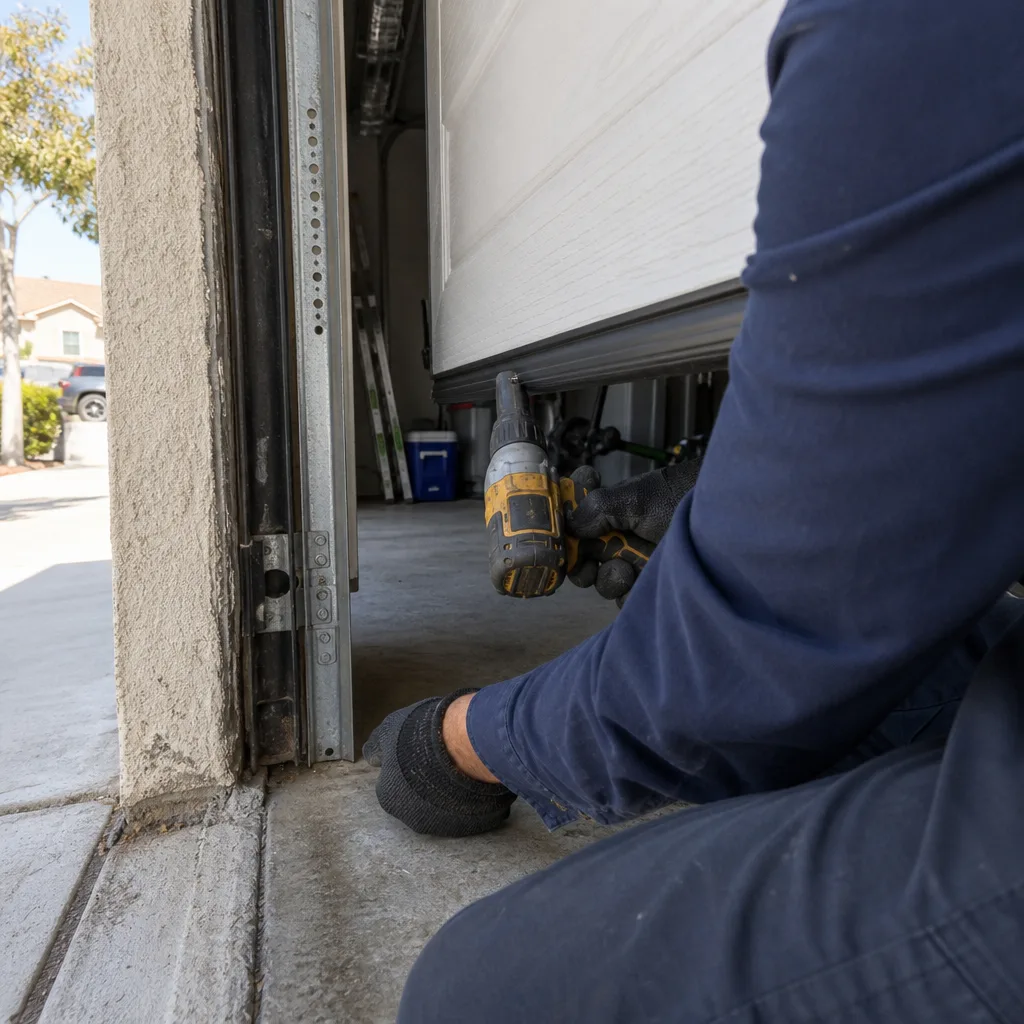
- Using WD-40 on rollers and hinges: WD-40 is a solvent. It strips the grease from the hinge pins and shortens roller life. Use white lithium grease on hinges and a silicone spray on rollers and the spring.
- Loosening set screws on a torsion spring out of curiosity: The set screws are the only thing holding the stored torque. Loosening one without knowing the winding sequence can release the cone violently.
- Skipping the permit on an opener install: In Mission Viejo, an unpermitted opener install can get flagged at resale. The correction often costs more than the original labor would have.
- Replacing one spring instead of both: Torsion springs have a cycle rating, usually 10,000 cycles. If one spring breaks, the other is at roughly the same wear point. Replacing one means a second service call within months.
- Ignoring a door that’s heavy on one side: When a cable slips or a spring loses tension, the door still opens but unevenly. Continuing to use it wears the opener’s gears and can pull the header bracket loose.
- Not photographing the before state: Without photos, you have no evidence of the condition you started with. This matters if a future repair reveals damage you didn’t cause.
- Hiring someone who won’t put the price in writing: If a Mission Viejo contractor won’t give you a written price before work starts, walk away. Clause 1 of The Haven Standard exists because verbal quotes fail. Our written price and written scope are always delivered before any work begins.
When to Call a Professional
Call a professional when the spring breaks (you’ll hear a loud bang, like a car backfiring), when the cables come off the drums, when the opener’s logic board malfunctions, or when the header bracket pulls away from the wall. Also call if you’ve attempted a repair and the door now makes a grinding noise, opens unevenly, or won’t hold in the up position. These are signs the tension system has been compromised, and compromising the tension system affects every other component. A licensed technician can assess the whole system, not just the part you noticed. Garage Door Opener Repair & Installation in Mission Viejo covers both opener work and the framework it hangs on. Servo Garage Doors Mission Viejo offers free estimates in Mission Viejo, and every estimate is a flat, written price before any work starts. Call (657) 293-2416 for a free estimate.
Frequently Asked Questions
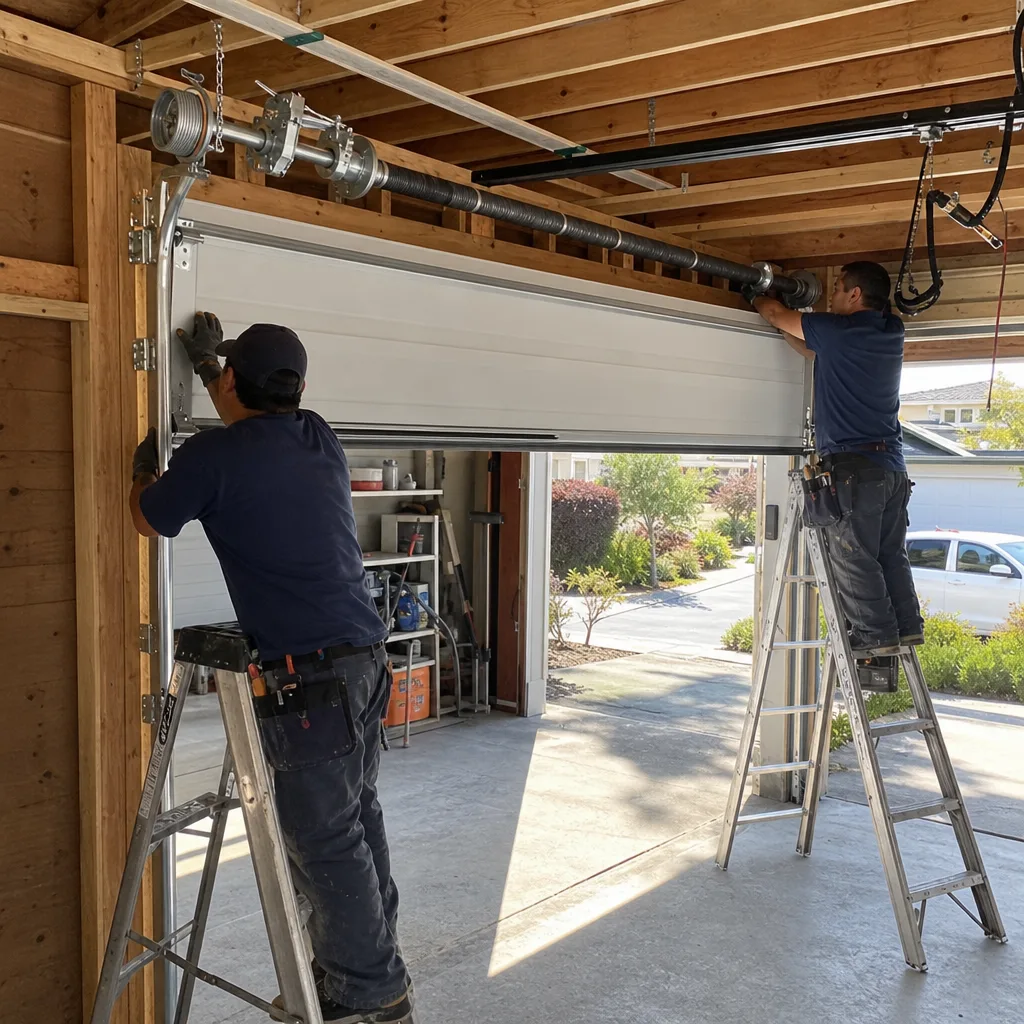
No. Torsion springs in Mission Viejo homes hold between 100 and 200 foot-pounds of torque, and releasing that tension without proper winding bars and an exact winding sequence can cause serious injury. This is the one component we consistently advise leaving to a licensed professional, regardless of your mechanical background. If your spring has broken, call (657) 293-2416 and we’ll quote a flat price before any work starts.
In Mission Viejo, torsion spring replacement typically runs $250 to $450 for a pair, cable replacement $150 to $275, and a full opener replacement with permit management $500 to $900. Every job we quote comes with a written price and scope before work begins, per Clause 1 of The Haven Standard, so the number you see is the number you pay. Call (657) 293-2416 for a free estimate.
You can replace weatherstripping and the bottom seal, realign photo-eye sensors, lubricate hinges and rollers with the correct products, program or replace opener remotes, and assess panel dents. Each of these tasks involves zero stored energy and no electrical work, and they collectively take under two hours.
No. Our pricing model requires a flat, written price and written scope delivered before any work starts. If the tech finds something additional, you get a new written price for the additional work before anything else is done. You approve it in writing, or we don’t do it. This is Clause 1 of The Haven Standard, and it applies to every job in Mission Viejo.
Yes, in most cases. Opener installation involves 120-volt electrical work, and California Electrical Code requires a permit for new circuits or appliance connections to the dwelling. The City of Mission Viejo’s permitting requirements apply, and an unpermitted install can be flagged at resale. A licensed professional manages the permit as part of the written scope.
The door should open and close smoothly, balance at the halfway point without falling or creeping up, reverse when it touches an obstruction, and the photo-eye sensors should hold a steady green light. You should also receive a documented photo record of what was found and what was done. That record is standard on every visit we make. If you don’t get one, ask for it. The Servo Garage Doors Mission Viejo home page explains our documentation standard in detail.
The Bottom Line
The DIY line for garage doors is not about how handy you are. It’s about what’s under tension. If the component stores tension, like a torsion spring or a wound cable, the physics is the boss, and no YouTube video changes that. If the component doesn’t store tension, like a seal, a sensor, or a remote, you can do it in under an hour and keep the labor savings. Mission Viejo adds one more consideration: the permit and resale math. A skipped permit on an opener install can erase your DIY savings at closing. Do the maintenance. Document everything. And when the spring snaps or the cables come off the drum, call a professional who puts the price in writing before touching anything. For more guides & resources, visit our blog.
Written by Marcus Deller, Owner at Servo Garage Doors Mission Viejo, serving Mission Viejo since 2015.