
Full 25-point door and opener safety check with every visit - springs, cables, rollers, tracks, and your LiftMaster or Chamberlain opener included
You get a price before we start. It does not change when the truck arrives.
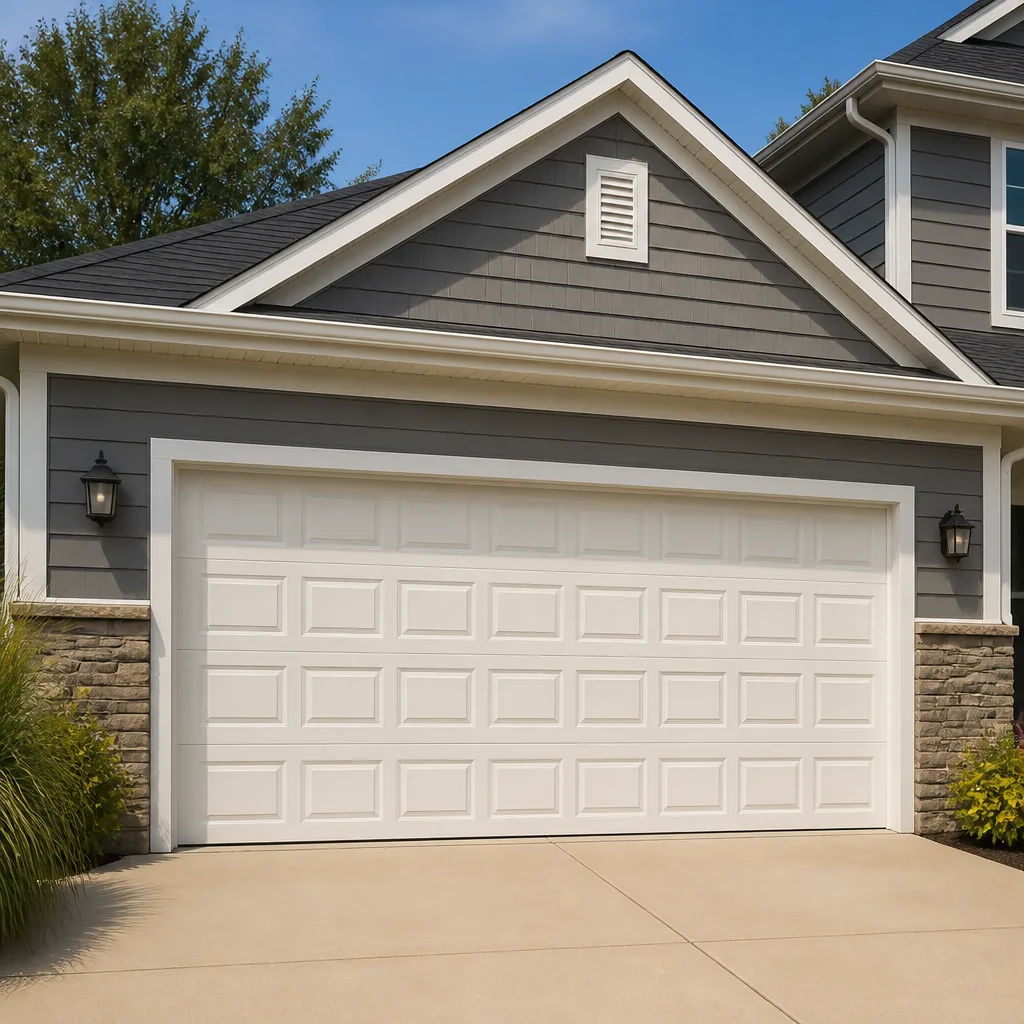
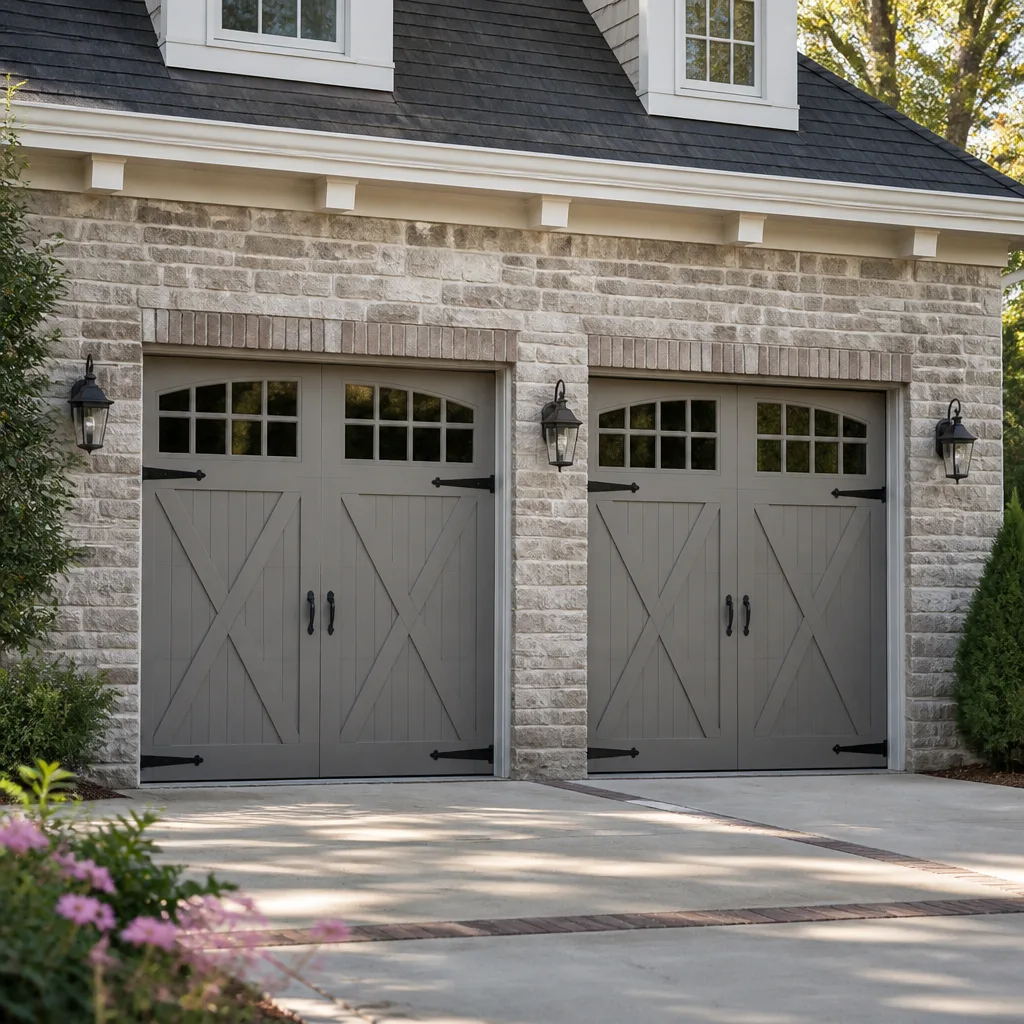
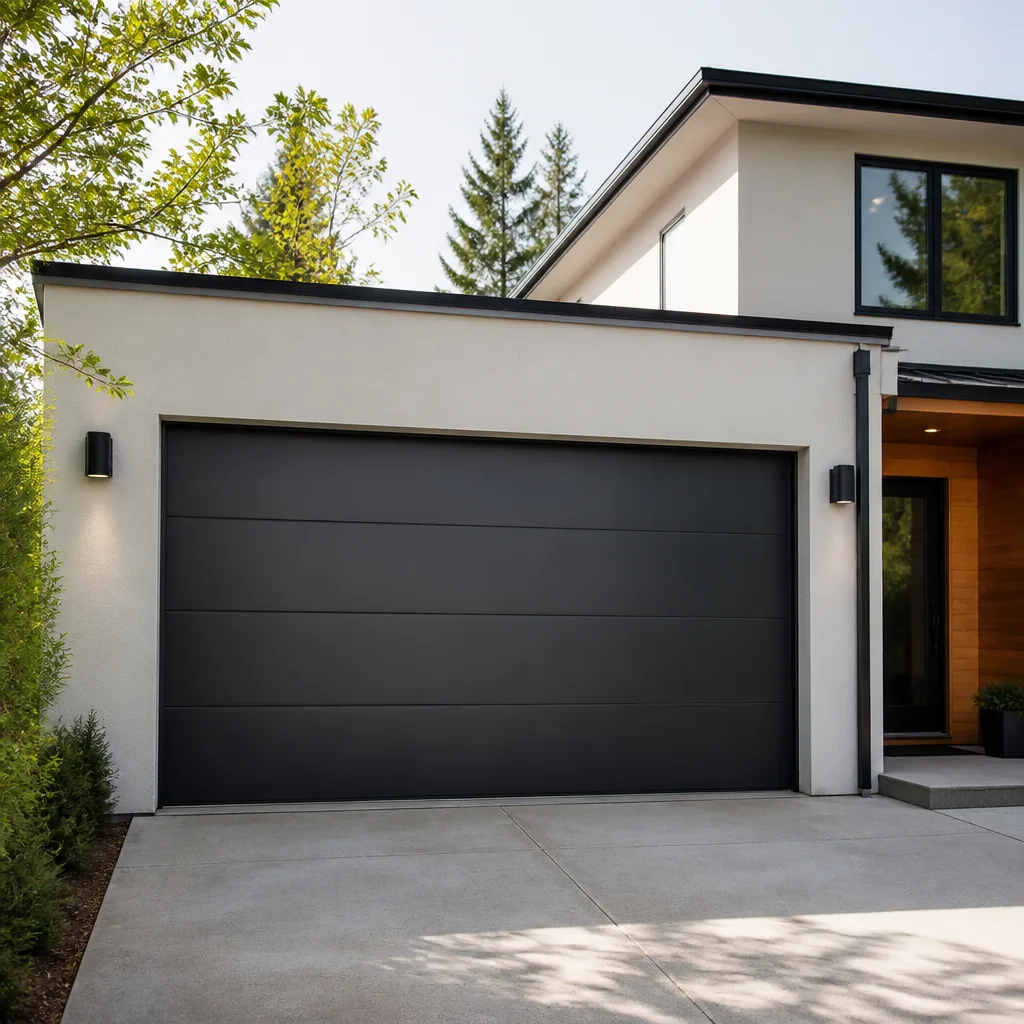
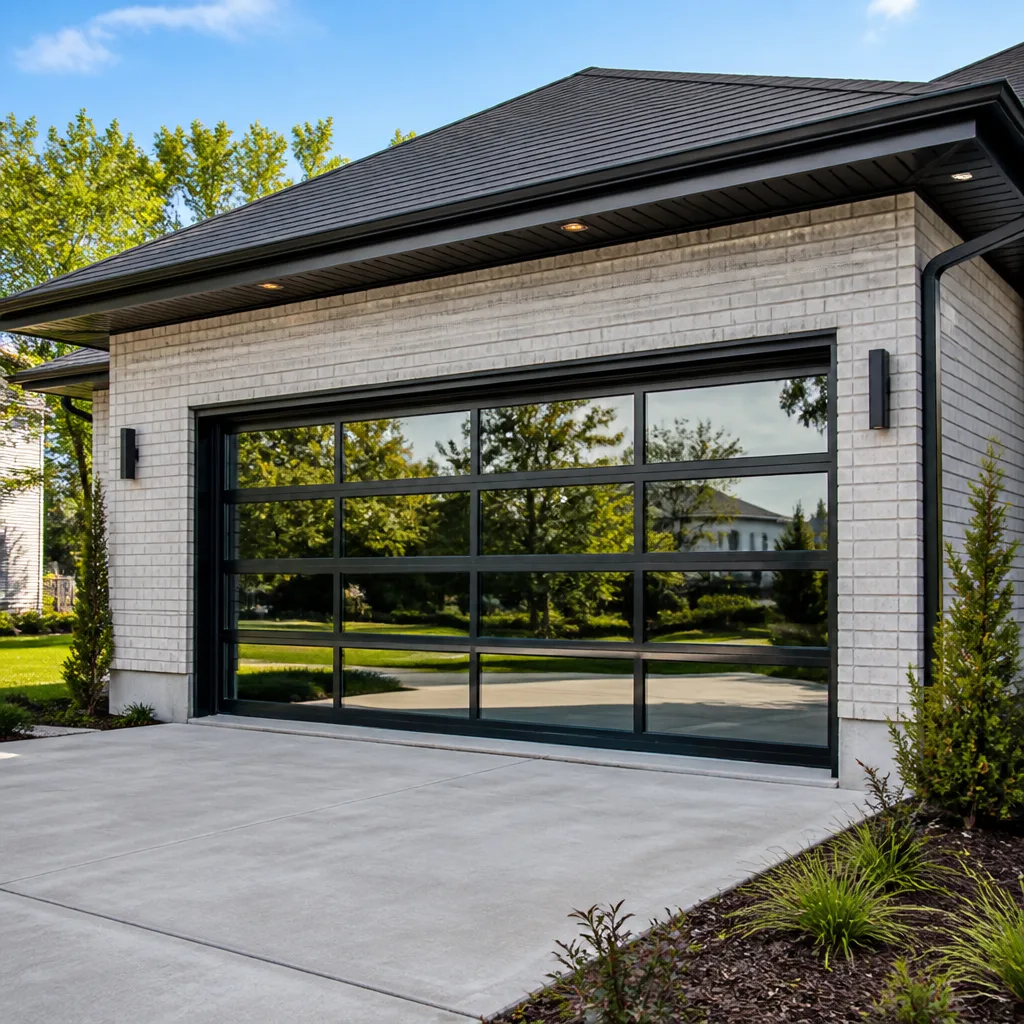
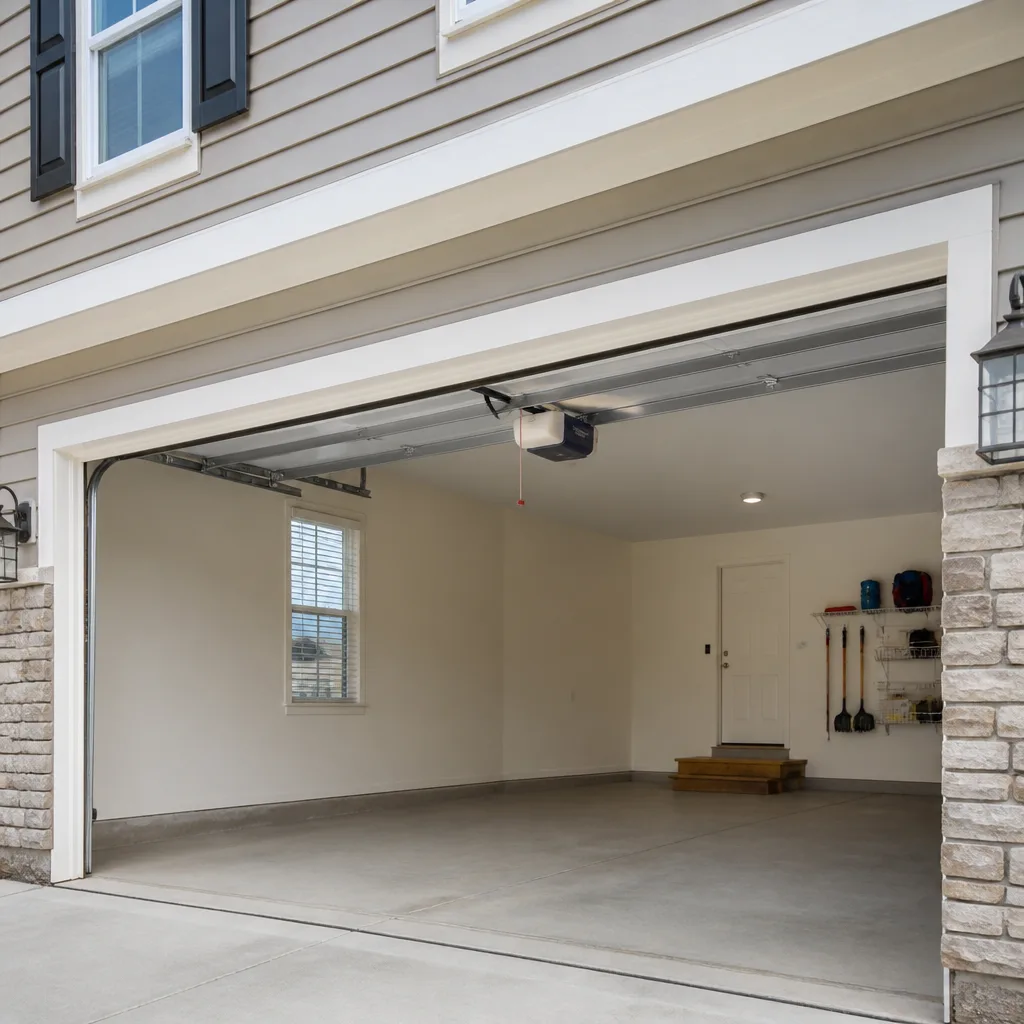
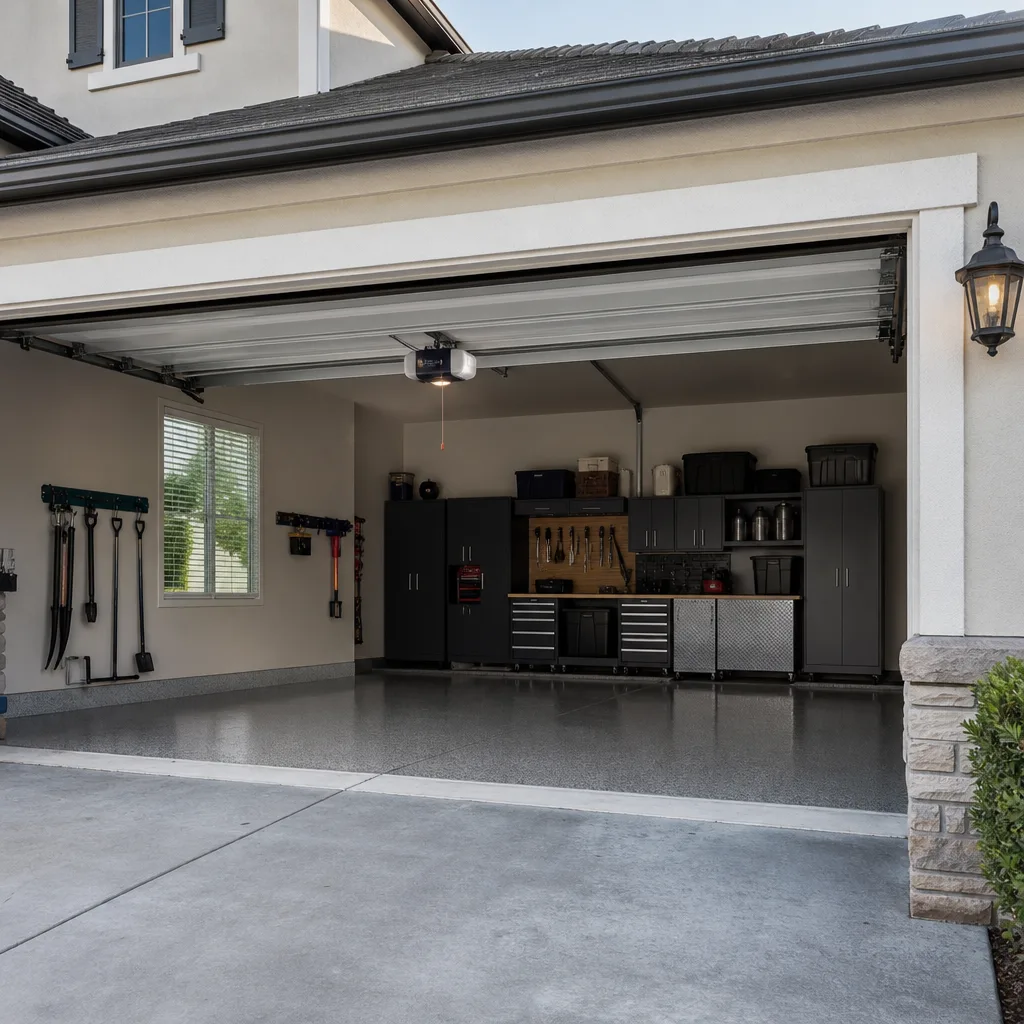
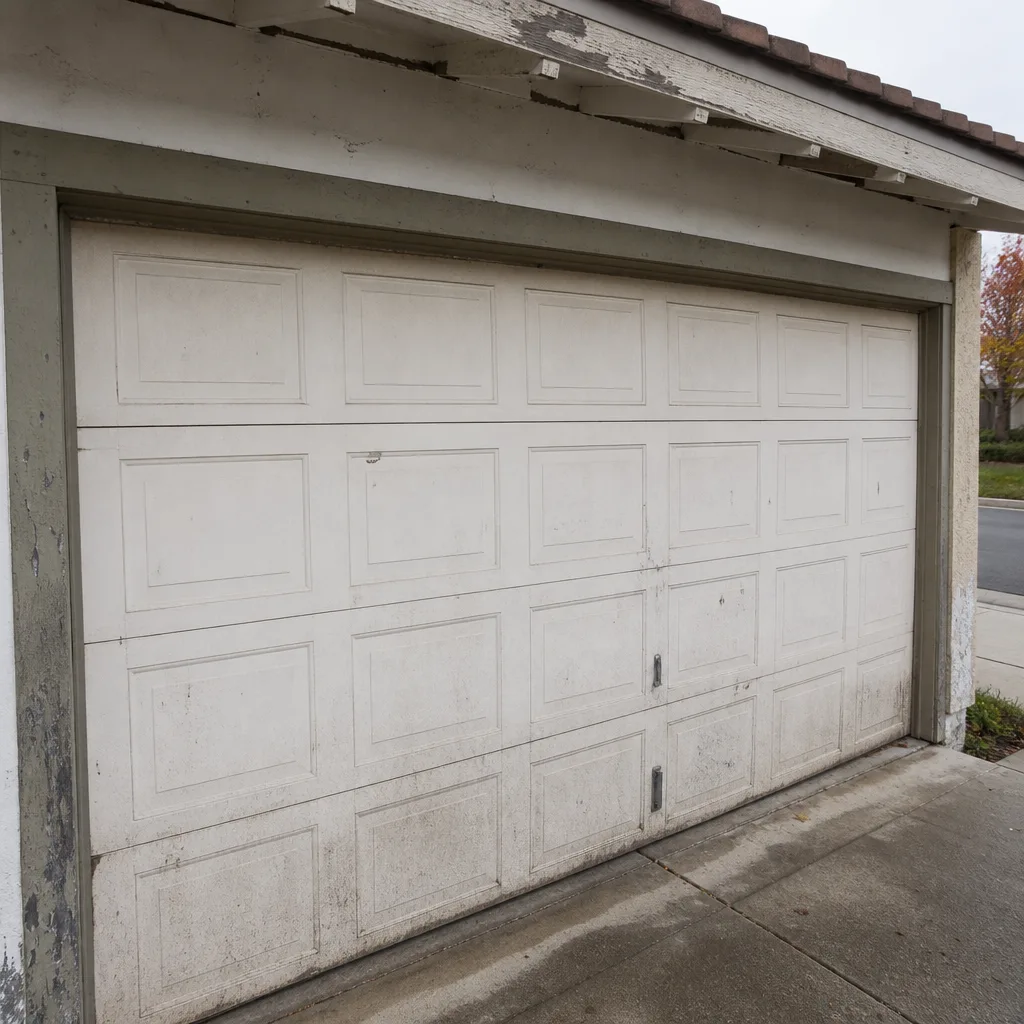 Before
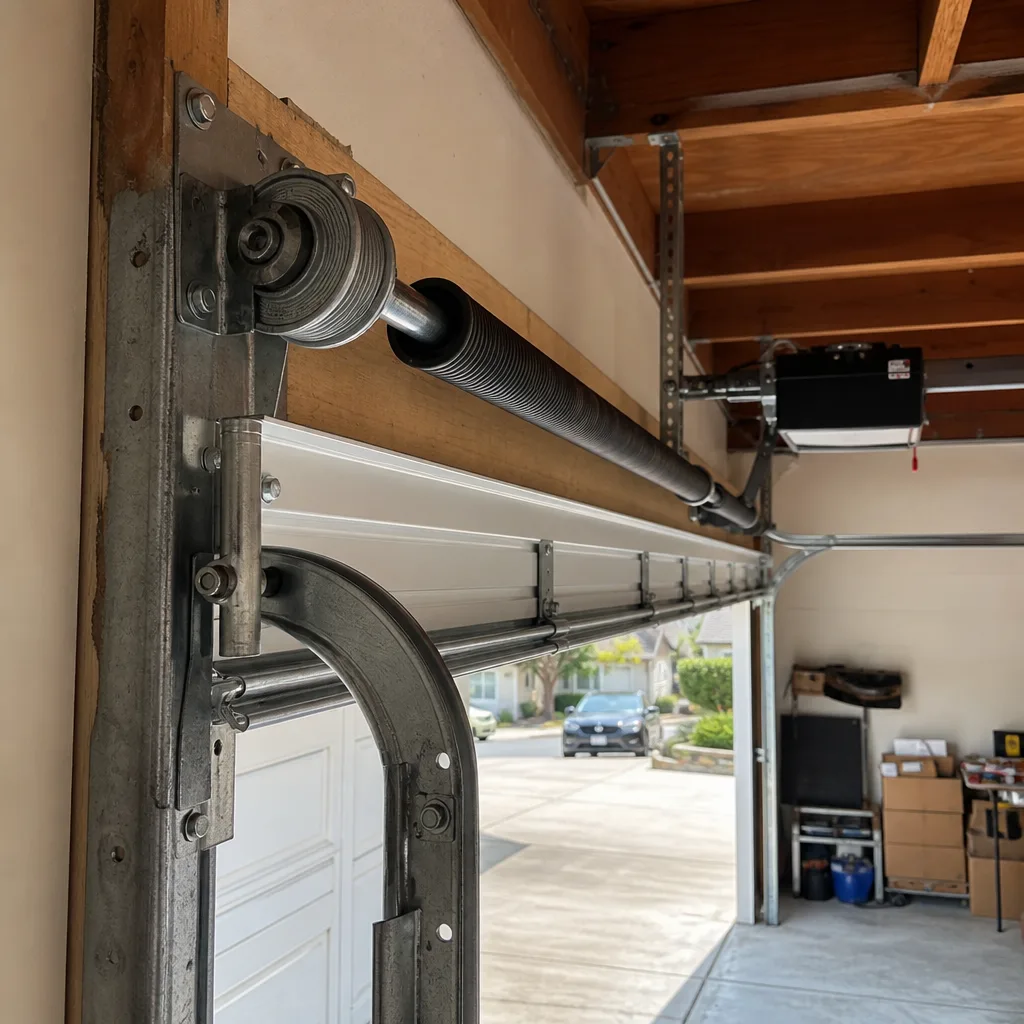 After
After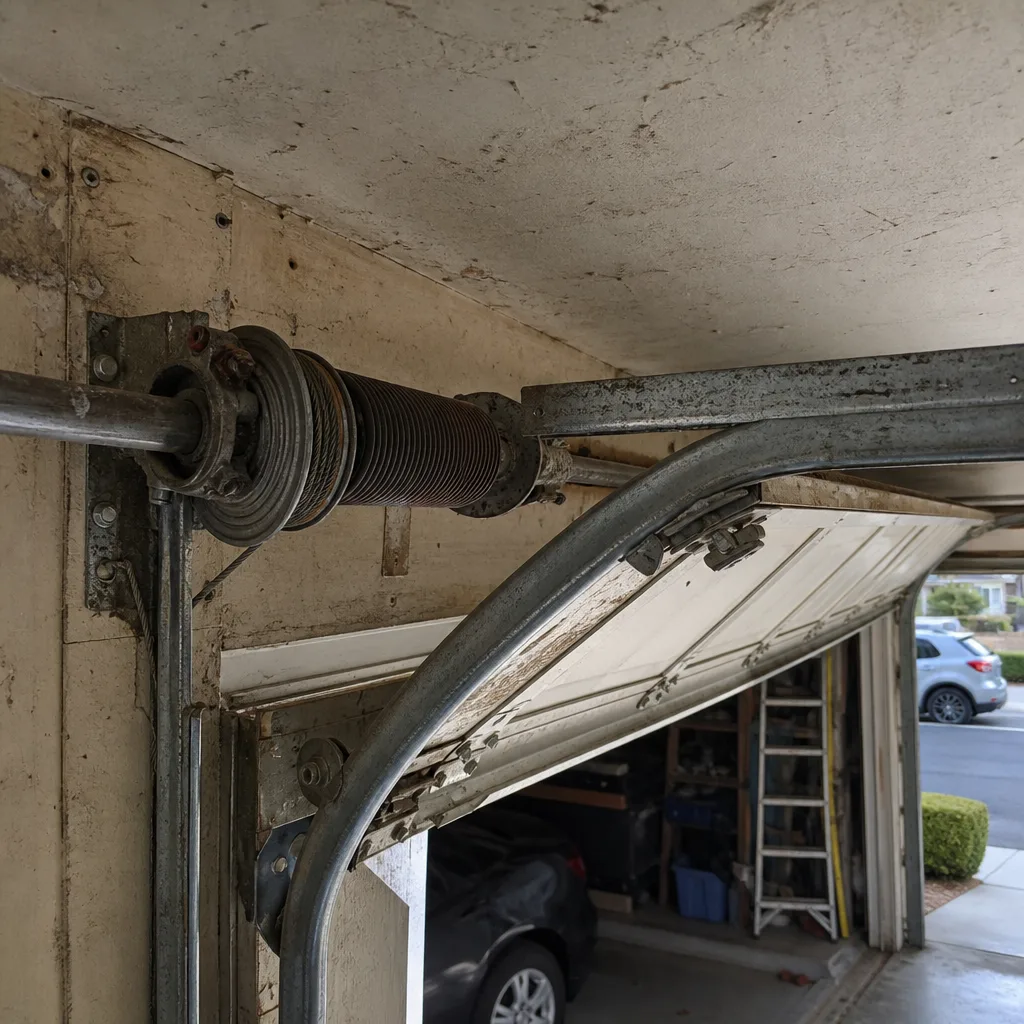 Before
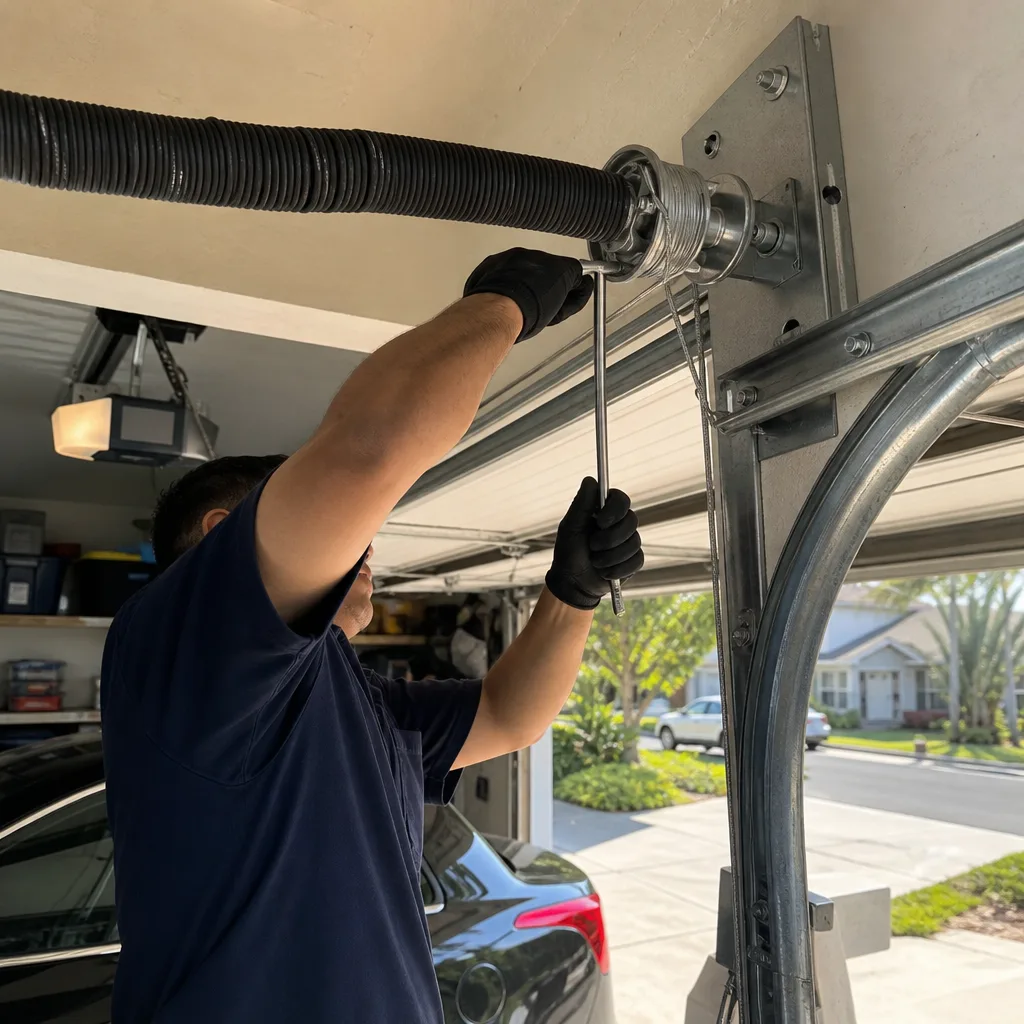 After
After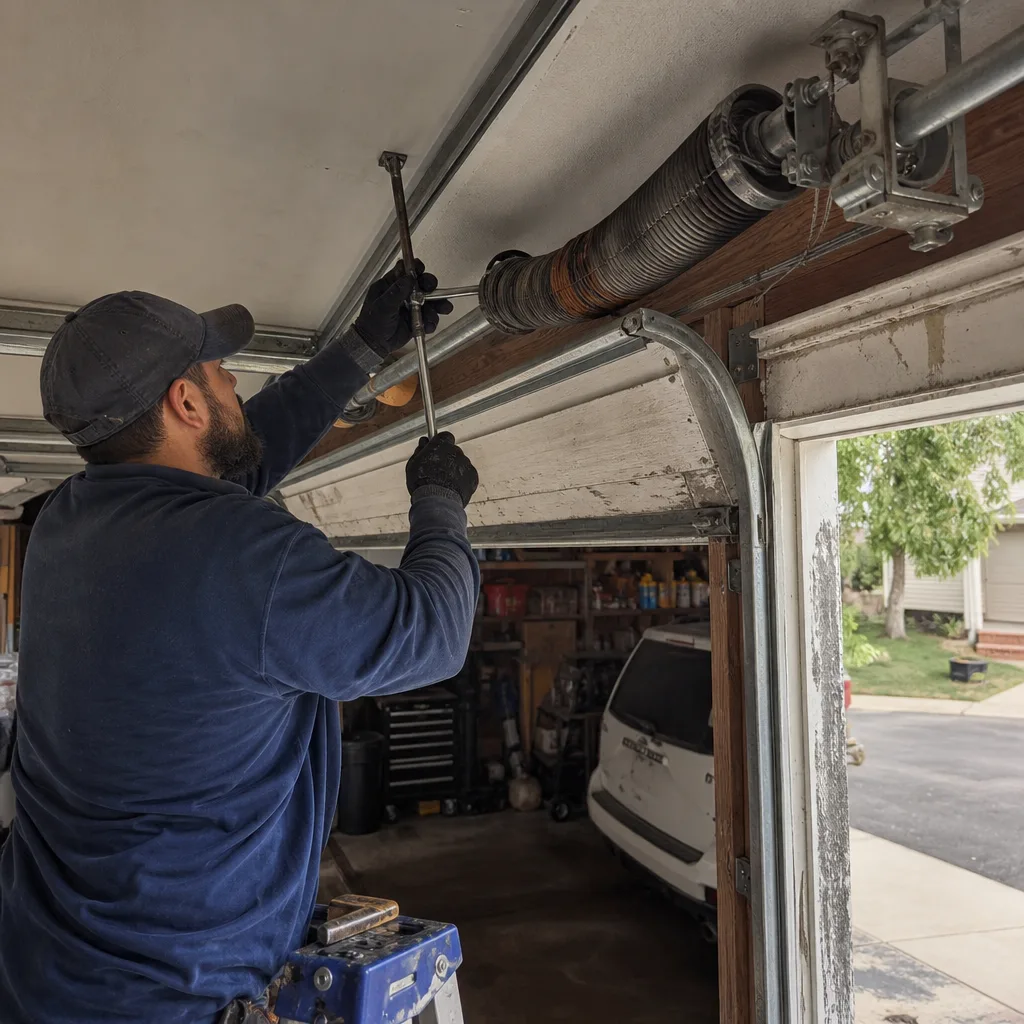 Before
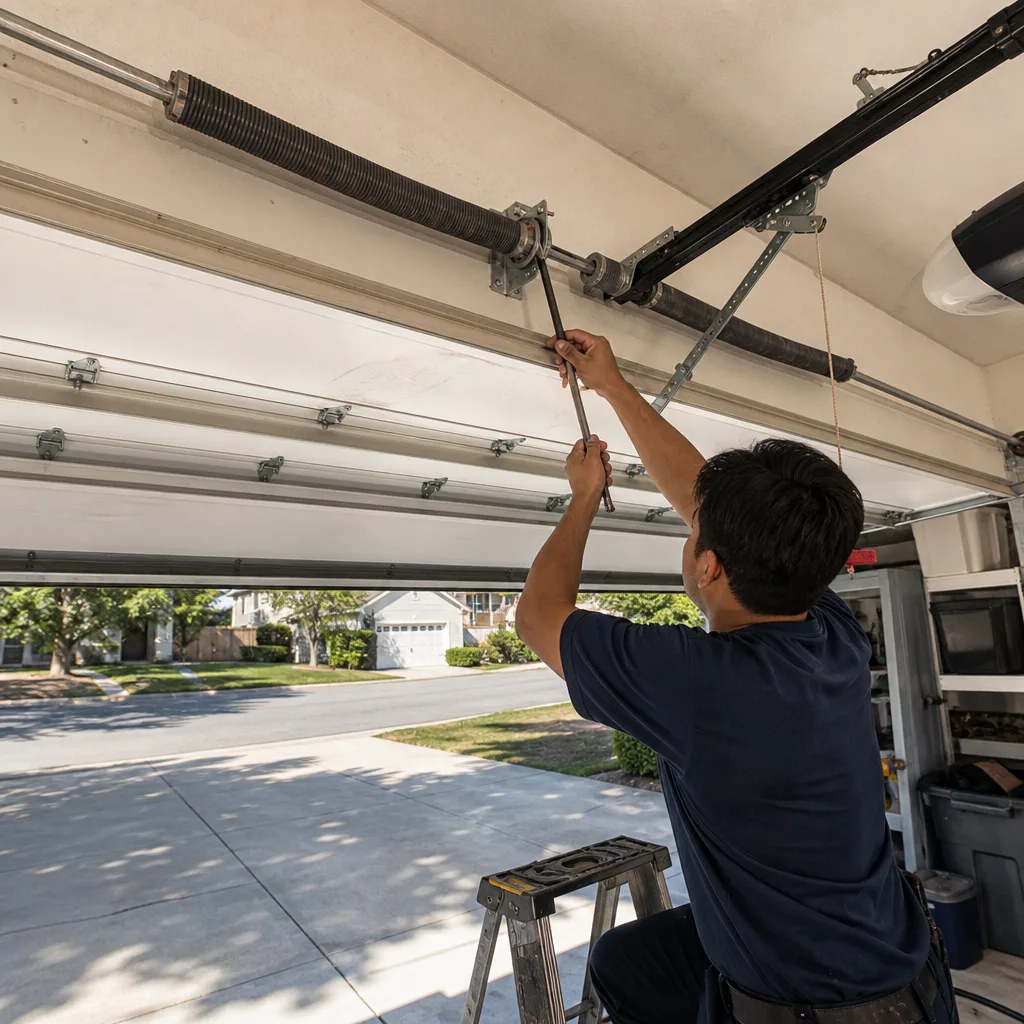 After
AfterRaynor Garage Door Parts in Mission Viejo: What to Know First
Raynor garage door parts in Mission Viejo are available through independent service providers like us, Servo Garage Doors Mission Viejo, and most jobs are completed same-day when the part is on the truck. Common Raynor repairs here run $130-$340 depending on the component, and every job gets a flat, written price before a single bolt comes loose. If you own a Raynor door in Mission Viejo and something’s grinding, sagging, or snapping, call (657) 293-2416 and we’ll name the part, quote the range, and schedule a visit.
How Raynor Products Fail - and How We Fix Them
Raynor builds a solid door, but every product line has its patterns after years of Mission Viejo sun, Santa Ana heat, and coastal humidity. Here’s what we actually find on service calls:
- Torsion spring fatigue on Raynor AP and Relante models: Raynor specifies oil-tempered springs on many of these doors, and we routinely see breaks between year 8 and 12, especially in Casta del Sol where original hardware is aging out. The spring snaps with a clean coil break, the door won’t lift, and the opener motor strains against the dead weight. We replace both springs as a set, not one, because the second has done the same cycle count and will fail next month if you leave it.
- Cable wear on Raynor Ponderosa and Aspen series: Raynor’s heavier wood-look steel doors pull more cable tension than lighter aluminum lines. We see frayed 7×19 aircraft cable at the drum, usually within six months of a roller issue that threw the door off balance. We replace cables in pairs and inspect the drums for grooving, because new cable on a scored drum is a repeat failure.
- Roller delamination on mid-2000s Raynor installations: Adhesive-bonded nylon rollers break down under sustained UV exposure. The nylon shell cracks, the roller wobbles in the track, and the door starts shaking on the way up. We swap in sealed-bearing nylon rollers with a steel core, and the door runs quieter than it has in years.
- Bottom seal compression set on Raynor doors facing south: South-facing garage doors in Mission Viejo take direct afternoon sun, and the vinyl bottom seal loses its memory after three or four seasons. It flattens out, leaves a gap at the sill, and then debris, water, and pack rats from the hills get in. We replace the T-style or bulb seal with a Raynor-compatible profile and adjust the retainer so it compresses evenly.
- Hinge fatigue on Raynor Colonial and Decade series: The stamped steel end hinges at the top and bottom carry the most flex load, and on panels made before Raynor’s 2010 design revision, we see the hinge pin holes oval out. You’ll hear a popping sound when the door moves. We replace hinges before they tear the panel face, which is a $30 fix that prevents a $400 panel replacement.
Our Raynor Garage Door Parts Process
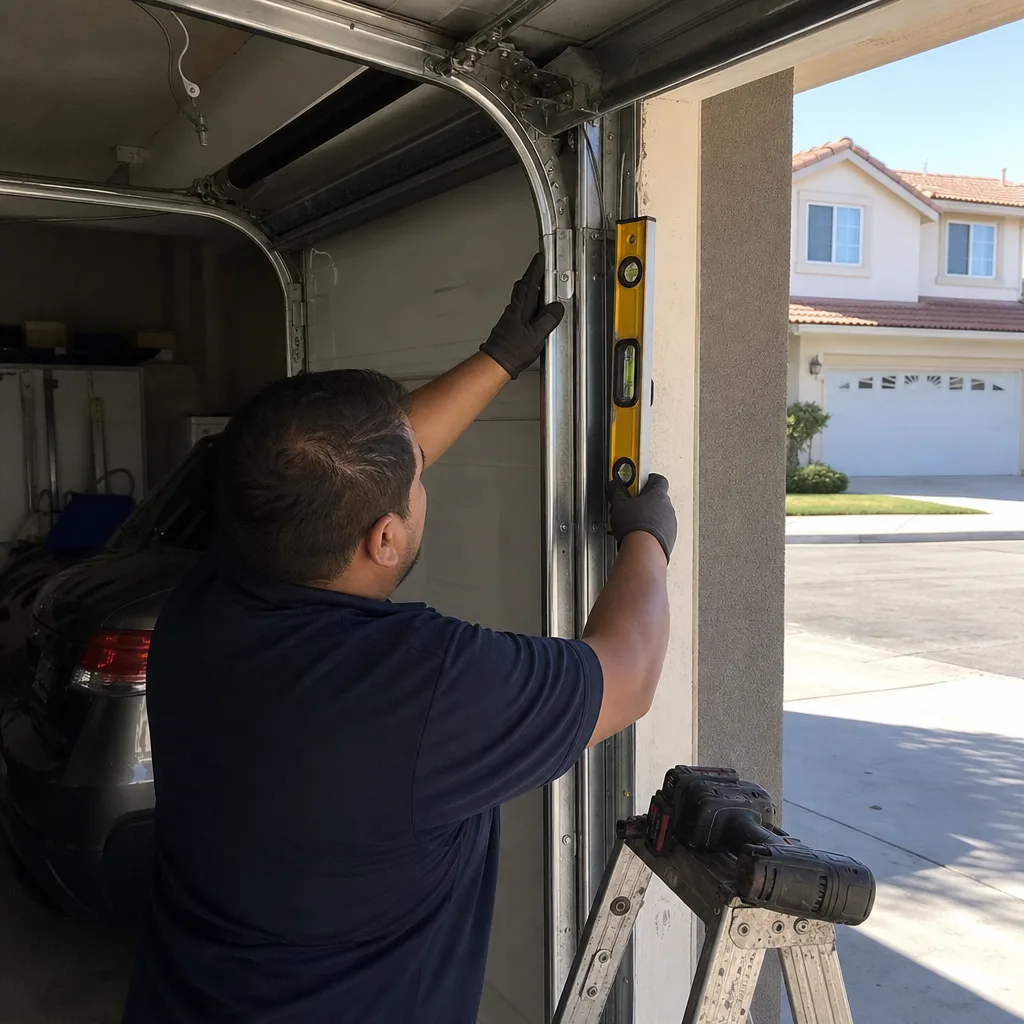
- 1
You call, a person answers: You tell us what the door is doing. Marcus Deller will tell you what it’s likely going to cost before he touches anything. A named technician is dispatched with an on-the-way text.
- 2
On-site diagnostic with photos: The tech inspects the door in Mission Viejo and photographs every failed component. Clause 4 of The Haven Standard means you see the broken part before anyone quotes a replacement.
- 3
Written flat price and scope: You get a document listing the exact part, whether it’s OEM Raynor or a quality aftermarket equivalent, the install labor, and the total. No ranges at this stage. That’s Clause 1, and it’s non-negotiable.
- 4
Parts decision, made together: For warranty-positioned doors we recommend Raynor-labeled parts. For out-of-warranty doors, we often use the same supplier Raynor uses, without the brand-name markup. We tell you which is which and what the trade-off is.
- 5
Repair and cycle test: We install, balance the door, and run it through a full open-close cycle test. The door should sit level at half-height without being held. If it doesn’t, we correct it before we clean up.
- 6
Documented handoff: You receive photos of the old part, the new part, and the completed work, plus the written warranty on the part and labor. Our 365-Day Done Right Promise means if it’s not right, we fix it.
BeforeAfterWhat Raynor Garage Door Parts Costs in Mission Viejo
Here are the dollar ranges we quote most often on Raynor doors in Mission Viejo:
- Torsion or extension spring replacement: $180-$340, including both springs when it’s a torsion setup
- Cable and drum work: $130-$250
- Roller replacement set: $110-$220
- Raynor hinge or bracket replacement: $110-$220 depending on the hinge count
- Bottom seal or weatherstripping replacement: $130-$250
- Panel replacement: $250-$500 for a stamped steel Raynor panel
What moves the price: whether the door is a standard 7-foot or an 8-foot height, whether you have one spring or two, and whether the drums need replacement alongside the cables. Every Raynor job in Mission Viejo is quoted as a flat, written price before any work starts. Call (657) 293-2416 for a free estimate on your specific door.
Why Mission Viejo Homeowners Call Servo Garage Doors Mission Viejo for Raynor Work
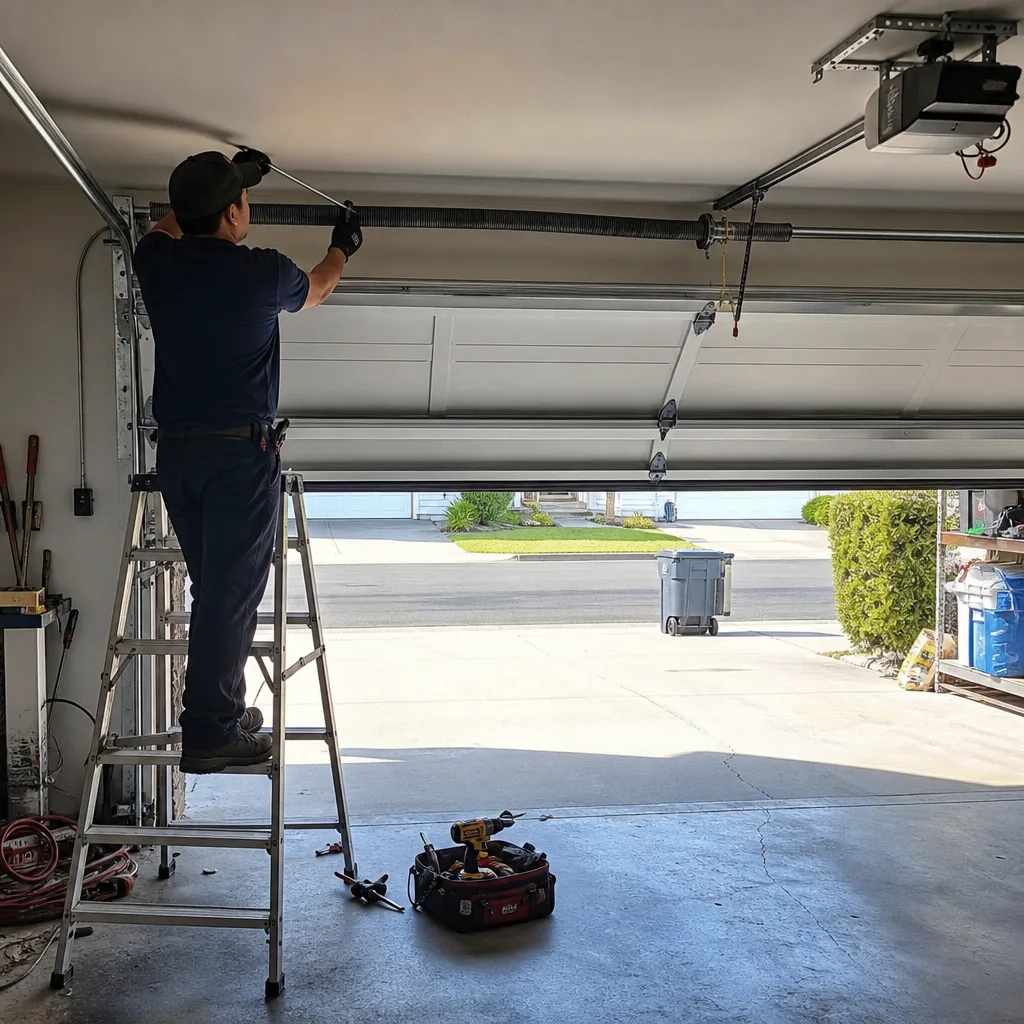
We’re an independent Raynor service provider, and we’ve been running Raynor parts and opener work across Mission Viejo for years. Our techs know that a Raynor AP series from 2011 has different spring specifications than a 2019 Relante, and they don’t guess. Every visit closes with a documented photo record of what was found and what was done, and every job carries the 365-Day Done Right Promise. We service all major brands, so if you’ve got a LiftMaster opener, a Chamberlain logic board, or a Genie rail on that Raynor door, we handle the whole system in one visit. Live phone coverage runs 24/7, including holidays, and our emergency calls get a named technician and an on-the-way text, not a callback window.
FAQs
No. Servo Garage Doors Mission Viejo operates as an independent Raynor service provider in Mission Viejo. We’re not authorized by Raynor, and we don’t claim to be. What we offer is real-world Raynor experience, OEM or equivalent parts, and a documented paper trail on every job.
We use both, depending on what makes sense for your door. If your Raynor door is under warranty, we source Raynor-labeled components so your coverage stays intact. If it’s out of warranty, we often use the same manufacturer Raynor contracts with, without the brand markup. We show you the part before we install it, and the written price includes exactly what you’re getting.
Most common Raynor parts such as springs, cables, rollers, hinges, and bottom seals are stocked on our trucks and installed same-day. If a panel or a non-stock Raynor-specific part is needed, it typically takes 3 to 7 business days to order. Call (657) 293-2416 and we’ll tell you which category your door falls into.
If the panels, track, and hinges are sound and the failing component is a spring, cable, or roller set, repair is almost always the right call. Mission Viejo Raynor doors with good bones routinely go 20-plus years with routine parts replacement. If the panels are rusting through at the bottom, sagging in the middle, or the door is 25-plus years old, replacement of the door but not necessarily the opener becomes the smarter spend. We’ll photograph the condition and show you the evidence either way.
No. The price you get before work starts is the price you pay. Clause 1 of The Haven Standard requires a flat, written price and written scope before any work begins, and that’s how every Servo Garage Doors Mission Viejo visit runs. If we find something additional once we’re working, we photograph it, show you, and agree on a separate written price before touching it. Call (657) 293-2416 if you have a Raynor door acting up and want a real number, not a callback.
Written by Marcus Deller, Owner, Servo Garage Doors Mission Viejo at Servo Garage Doors Mission Viejo, serving Mission Viejo and nearby areas.