
Last updated September 20, 2026
Full 25-point door and opener safety check with every visit - springs, cables, rollers, tracks, and your LiftMaster or Chamberlain opener included
You get a price before we start. It does not change when the truck arrives.
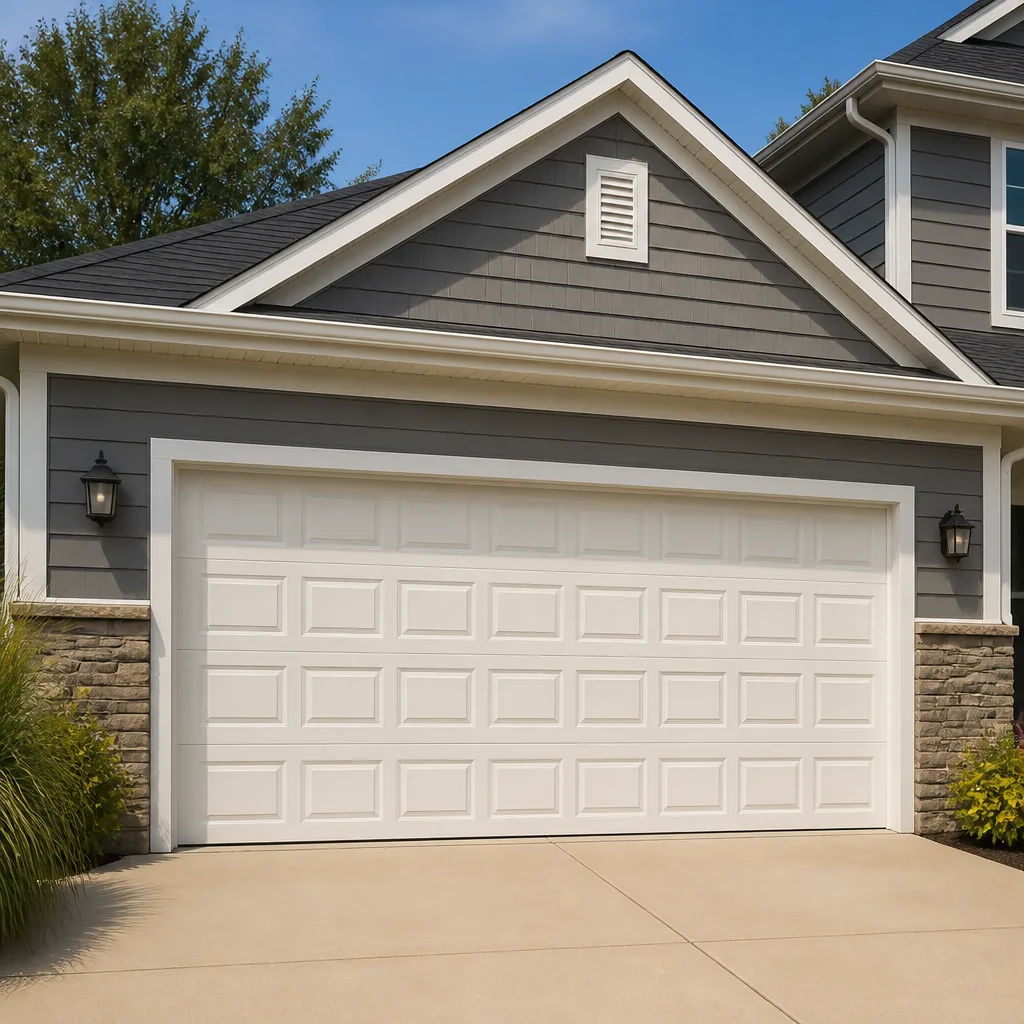
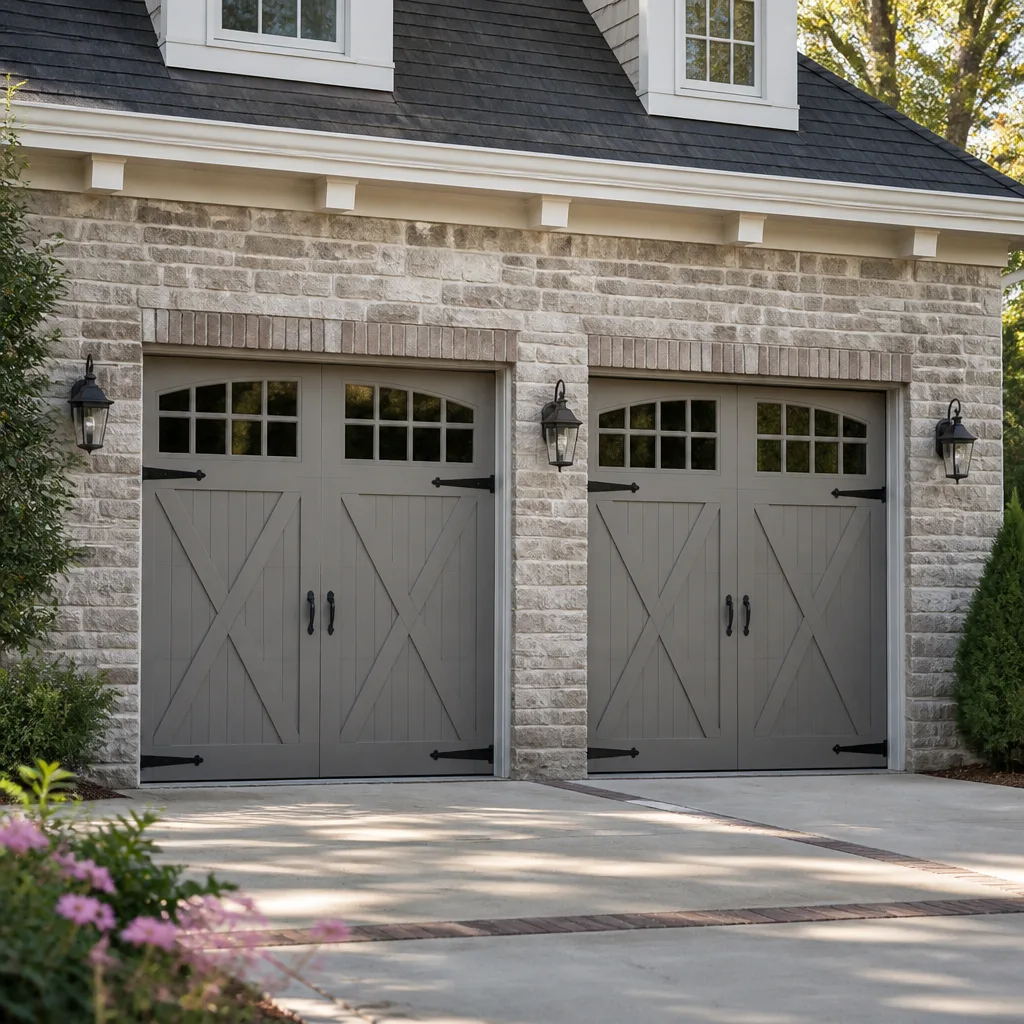

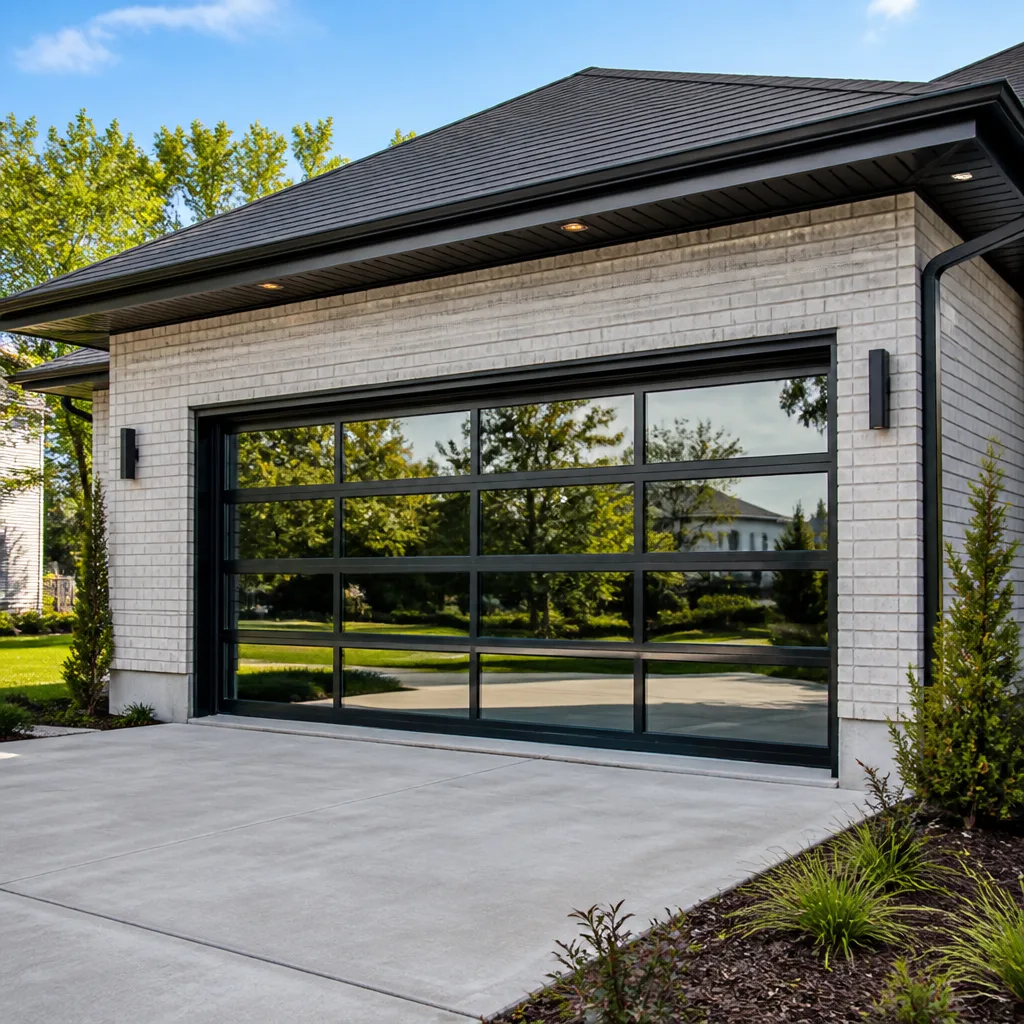
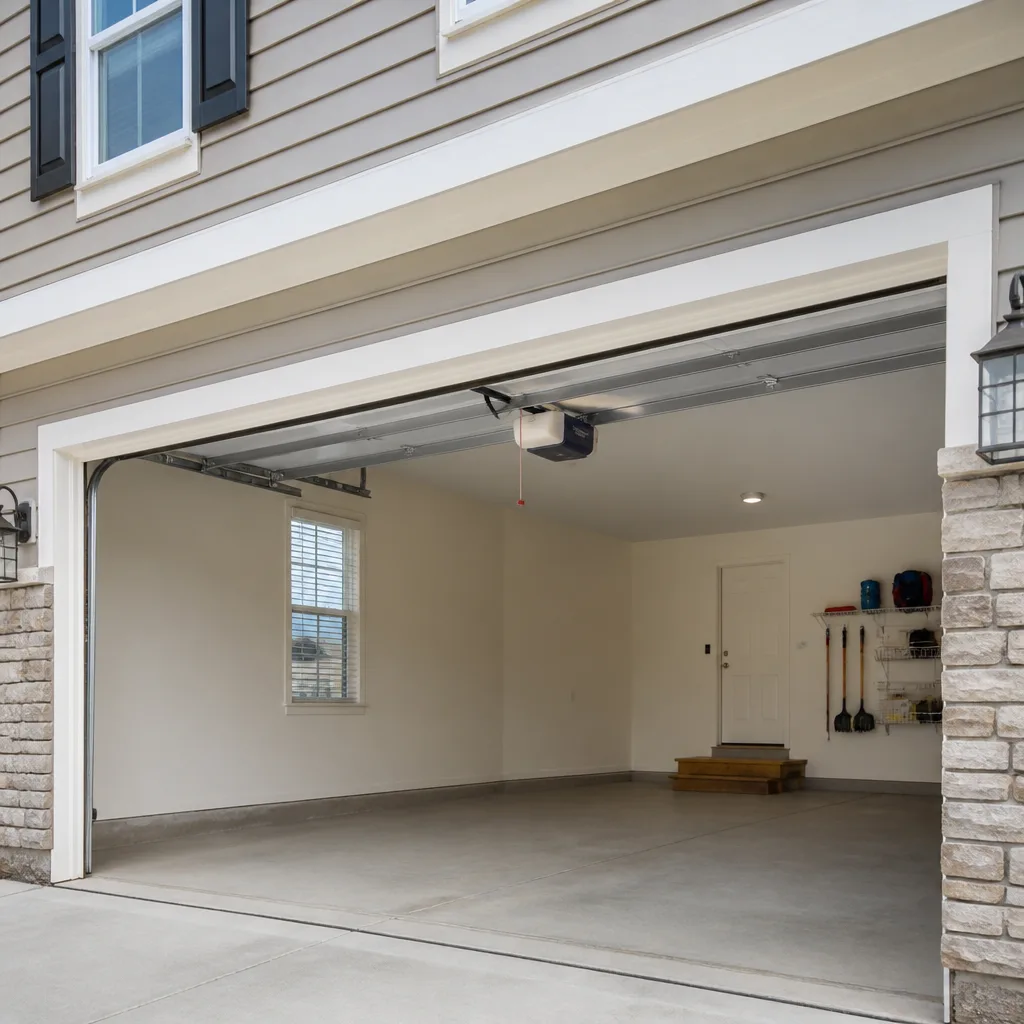
 Before
 After
After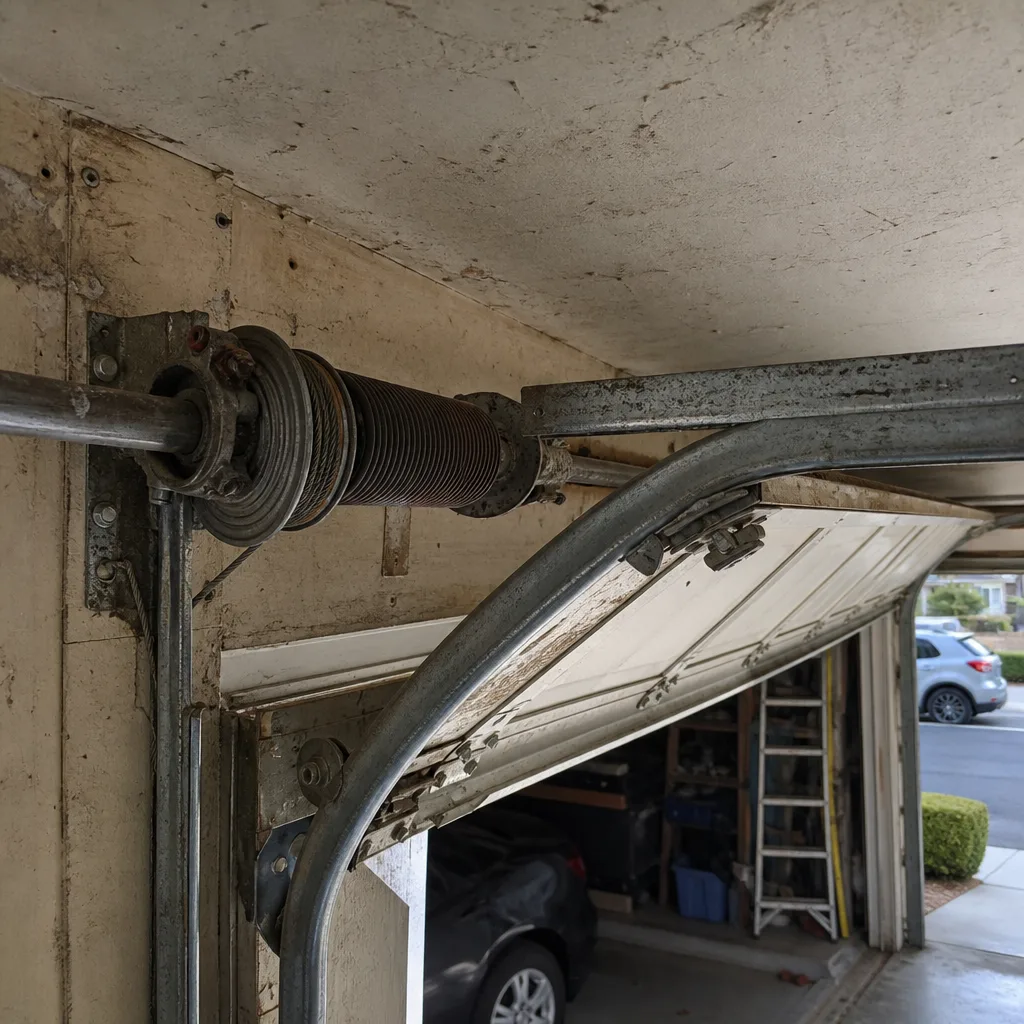 Before
 After
After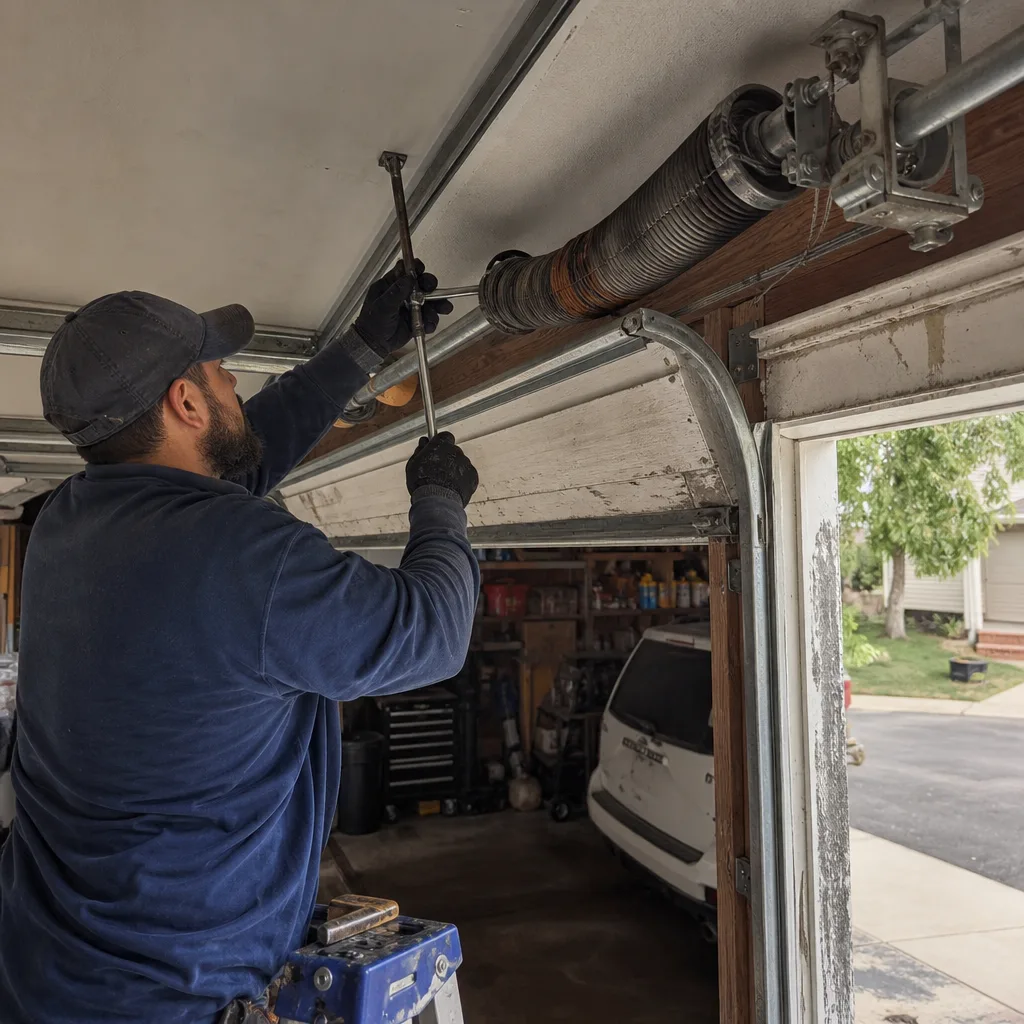 Before
 After
AfterGarage Door Repair Maintenance Checklist for Mission Viejo Homeowners
A torsion spring that’s lost 20% of its coil tension will still open your door. It’ll lift the panels, roll them up the track, and close behind you without a complaint, right up until the morning it won’t. Most maintenance checklists won’t catch it either, because they check function, not condition. This guide is different. We’ve paired every maintenance task on this Mission Viejo checklist with a measurable pass/fail condition, so your next inspection produces a real diagnosis instead of a ritual. You’ll learn what a failing cable looks like before it snaps, what the gap in a spring actually tells you, and how to document what you find so the next repair quote you get is based on evidence, not opinion.
Quick Answer
A garage door maintenance checklist for Mission Viejo homeowners should cover seven core tasks: spring gap inspection, cable strand counting, roller wear assessment, track cleaning, lubrication with the correct product, a manual disconnect balance test, and a logic board battery check. Most tasks take under ten minutes and need no special tools beyond a flashlight and a smartphone camera. The ones involving high-tension springs and cables should stop at visual inspection only – those components are not DIY repair items.
Table of Contents
- Spring Gap Measurement: The Test Most Checklists Skip
- Cable Inspection: Counting Strands, Not Just Looking for Fraying
- Roller Wear: Flat Spots vs. Acceptable Surface Scuffing
- Track Cleaning and Alignment in Mission Viejo’s Climate
- Why October Is the Highest-Yield Month for Lubrication in Mission Viejo
- The Manual Disconnect Test: What Door Drift Speed Actually Tells You
- Which Maintenance Mistakes Void Opener Warranties
- Documenting Your Inspection: The Photo Record Method
- Common Mistakes to Avoid
- When to Call a Professional
- Frequently Asked Questions
BeforeAfterSpring Gap Measurement: The Test Most Checklists Skip
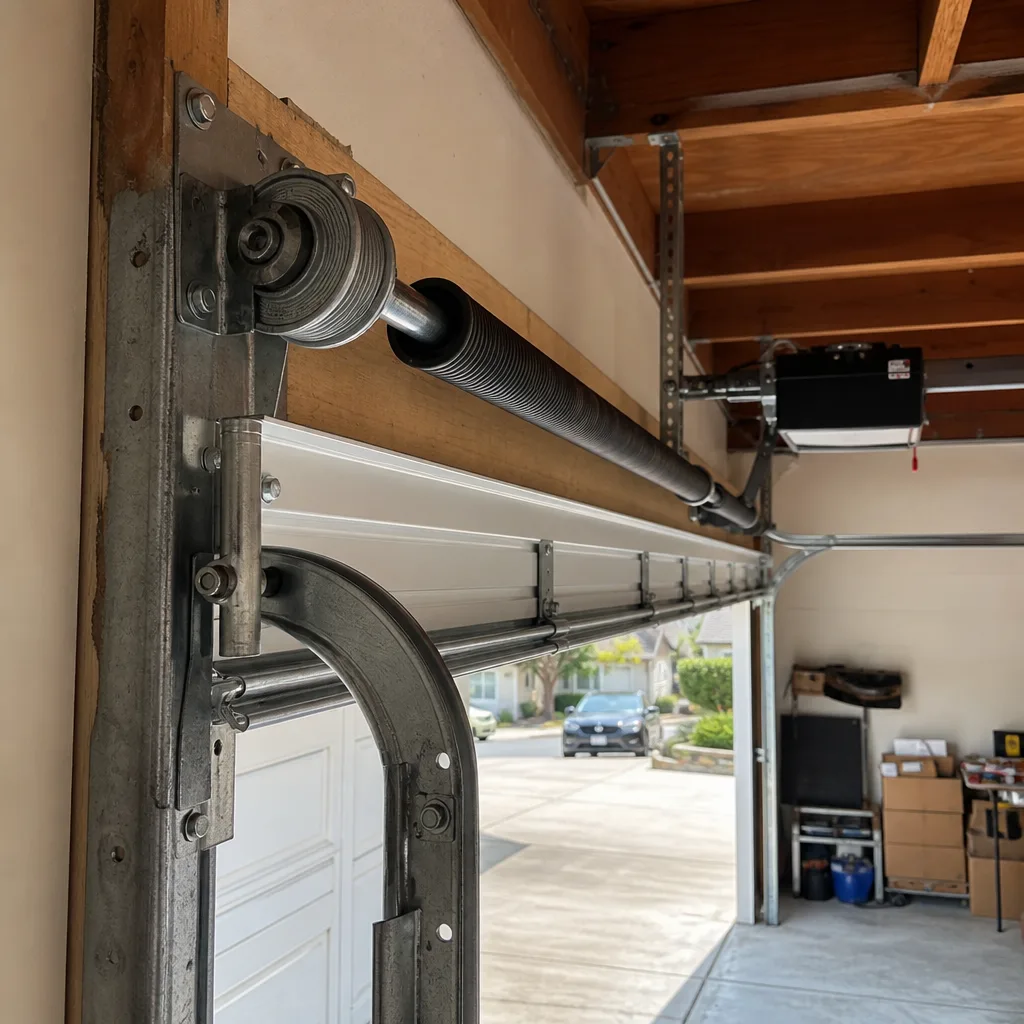
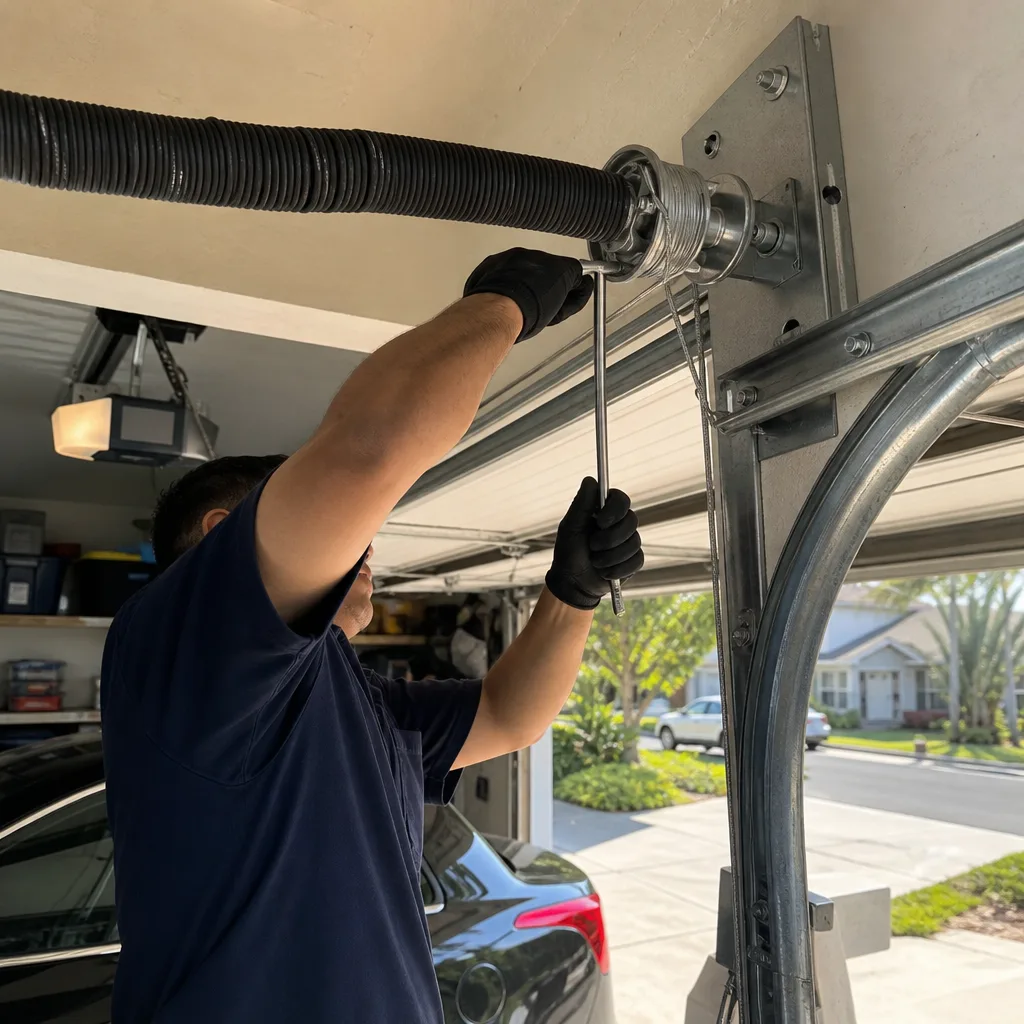
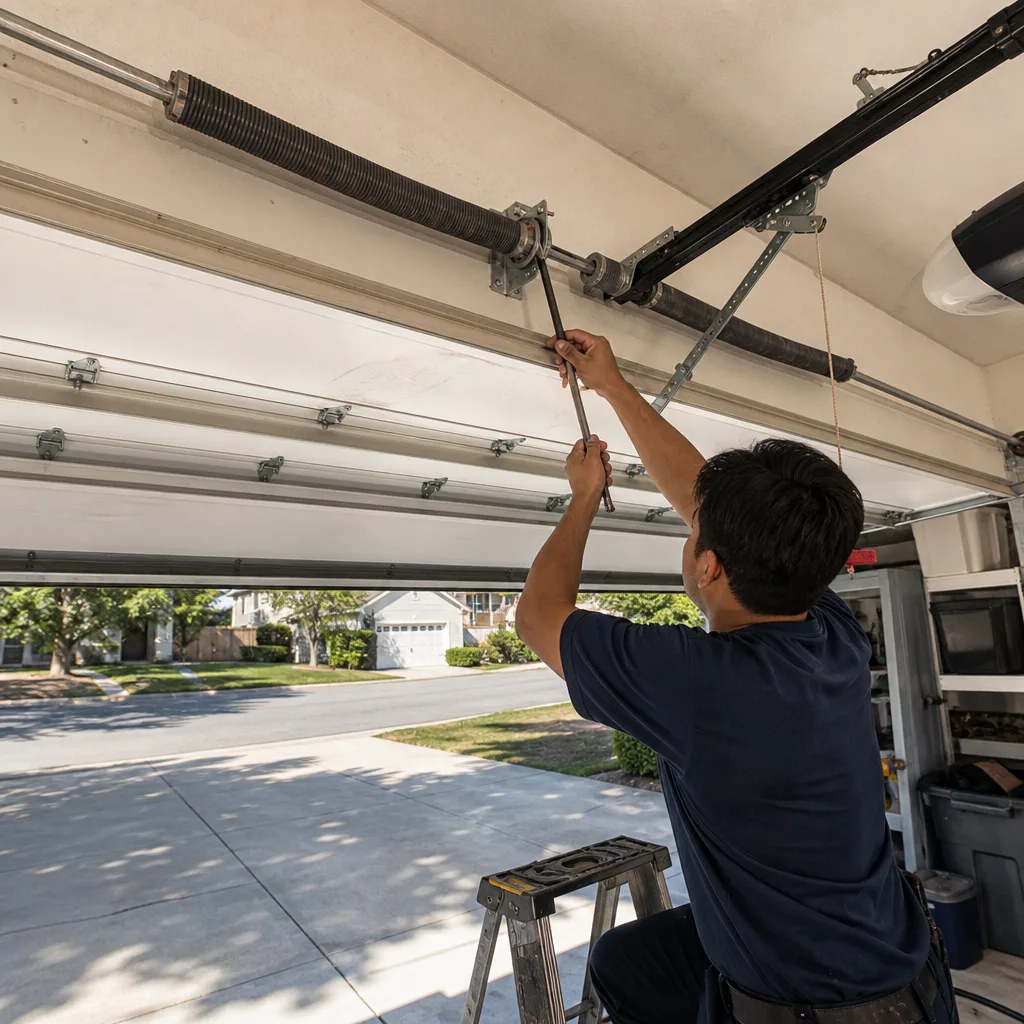
Your garage door has one or two torsion springs mounted above the opening. When those springs are healthy, the coils sit flush against each other with no visible spacing. As a spring fatigues, the coils separate. That gap is the earliest reliable warning sign of spring failure, and it’s measurable with nothing more than a ruler and a flashlight.
Here’s the pass/fail threshold we use on service calls across Mission Viejo:
- Pass: No visible gap between coils on an unloaded spring, or gaps under 1/16 inch across the entire spring length.
- Watch: Gaps between 1/16 inch and 1/8 inch in isolated sections. The spring is losing tension but may have months of safe operation left. Document it and re-check in 60 days.
- Fail: Gaps over 1/8 inch, gaps that widen at one end only, or any gap that appears after previously reading zero. This spring has reached the late stage of its service life and should be quoted for replacement before it snaps.
An 1/8-inch gap might sound trivial, but torsion springs are wound to hold hundreds of pounds of stored force for years at a time. The gap means the steel itself has stretched beyond its elastic limit. We’ve replaced springs in Mission Viejo homes where the gap had been visible for eight months and the homeowner assumed it was normal manufacturing variation. It isn’t.
Safety note: Do not attempt to adjust, remove, or replace a torsion spring yourself. The winding cone on a standard residential spring holds enough stored energy to break bones or cause fatal injury if released incorrectly. Visual inspection and measurement are the full extent of safe homeowner involvement. Anything beyond that requires a trained professional with the correct winding bars and experience - that’s what our Garage Door Repair team provides.
Because spring failure is the single most common cause of sudden garage door failure in Mission Viejo, this one check belongs at the top of your list. Every other component in your system is downstream of spring health. If you’re in the middle of a full maintenance session, start here before touching anything else. Our Garage Door Repair in Mission Viejo guide covers what happens when a spring fails and what replacement looks like in terms of cost and time.
Cable Inspection: Counting Strands, Not Just Looking for Fraying
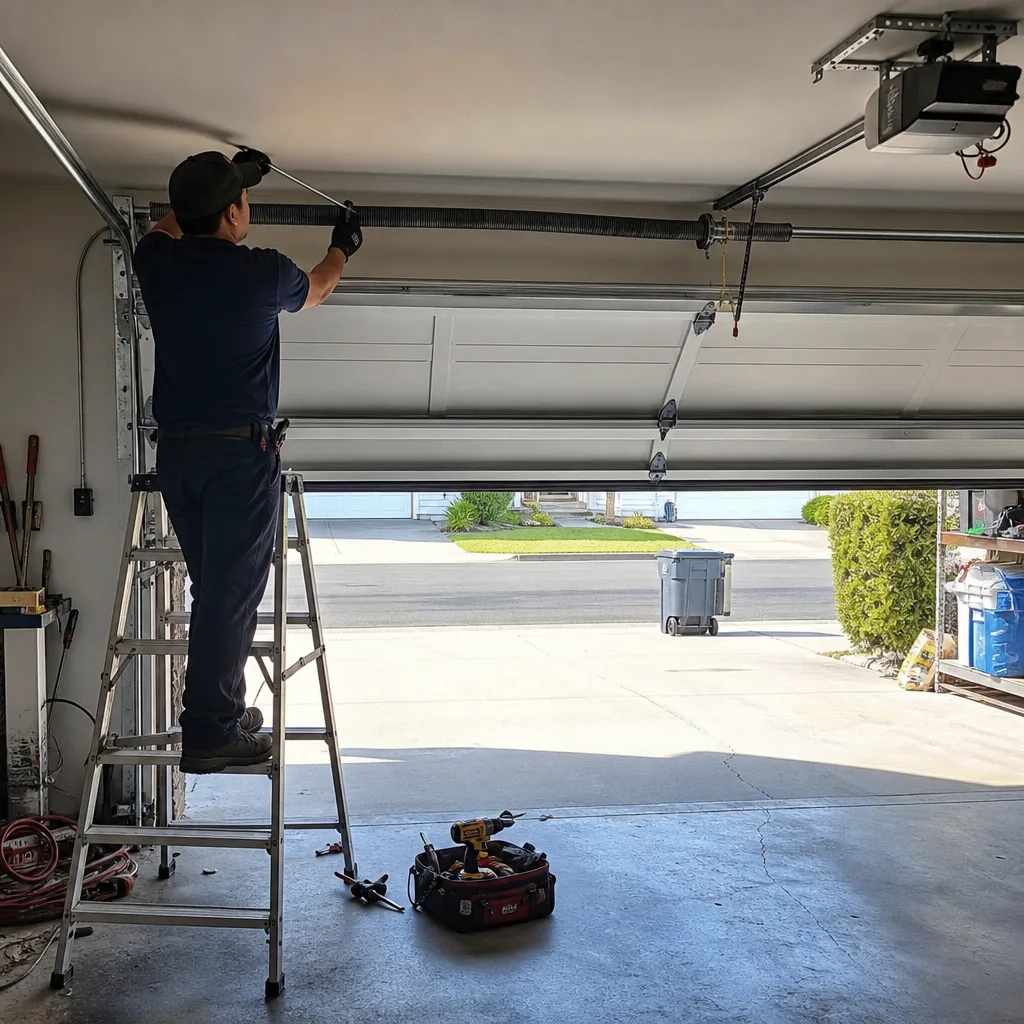
A garage door cable is a bundle of thin steel wires twisted together. It doesn’t fail all at once under normal conditions. It fails one strand at a time, over weeks or months, and by the time you see obvious fraying, the cable has already lost a meaningful percentage of its load capacity. That’s why the pass/fail condition here is a strand count, not a visual impression.
Here’s the full inspection sequence we follow:
- With the door closed, inspect both cables where they attach to the bottom brackets at each side of the door. This is the highest-stress point and where breakage almost always begins.
- Run the door up and inspect the full length of each cable as it wraps around the drums above the door. Light from a flashlight raked across the cable reveals broken strands that straight-on viewing misses.
- With the door open, check the cable against the drum. Look for the cable seating cleanly in the drum groove, not riding up over the edge.
Pass/fail standards:
- Pass: Zero broken strands on either cable, no rust pitting, no distortion in the cable’s twist pattern.
- Watch: One or two broken strands near the bottom bracket. Document with a photo and re-inspect in 30 days. If the count increases, schedule replacement.
- Fail: Three or more broken strands anywhere, broken strands within two inches of the bottom bracket, rust that flakes when touched, or any kink where the cable doesn’t straighten. Replacement is mandatory. A cable at three broken strands can hold for another month or fail tomorrow – there’s no reliable middle ground.
The bottom bracket connection deserves special attention in Mission Viejo. Our coastal-adjacent air carries more salt than inland communities ten miles east, and that salt accelerates corrosion on exposed steel components, especially in non-insulated garages. We’ve seen cables in southern Mission Viejo neighborhoods show rust pitting at year five that homeowners in Rancho Santa Margarita wouldn’t see until year ten.
One clarification that saves confusion: you’re counting broken strands on the cable itself, not the visible rust near the bottom bracket. Rust alone, without strand breakage, is a condition to monitor. Strand breakage is a condition to act on.
If you find a failed cable, the door should be left closed and the opener unplugged until a technician arrives. A door with one broken cable can still be opened manually, but when the intact cable takes the full load, it will often snap too. That turns a one-cable replacement into a two-cable replacement plus potential panel damage.
Roller Wear: Flat Spots vs. Acceptable Surface Scuffing
Garage door rollers are the small wheels that carry the door up and down the vertical and horizontal tracks. Their failure mode is predictable: the wheel surface wears down, develops a flat spot, and then the door starts vibrating as that flat spot passes the track each cycle. The vibration accelerates wear on every other component, including the opener’s logic board mounts and the hinges themselves.
What you’re looking for during inspection:
- Acceptable: Surface scuffing or light discoloration on the roller face. The wheel still rolls smoothly when the door moves. No visible flat portion on the circumference.
- Fail: Any flat spot you can see without magnification. Run the door by hand (after pulling the manual release) and listen for a rhythmic thump at the same point in travel each cycle – that thump is the flat spot hitting the track. Wobble from side to side when you push on the roller stem is also a fail.
- Watch: Rollers that spin freely but show a visible wear ring where the track contacts the face. These have mileage left, but the clock is running. Document and check again in six months.
Nylon rollers last longer than steel in Mission Viejo’s climate, and they’re quieter. But the important maintenance fact is that nylon rollers fail in a specific way: the bearing inside wears out before the nylon surface shows significant wear. A nylon roller can look nearly new externally while its internal bearing is dry and rough. If you can hear a grinding or clicking from a specific roller when the door moves, the bearing is done. That’s a replacement condition regardless of how the surface looks.
Steel rollers, which are common on older doors and some current low-cost installations, announce their wear differently: the surface itself develops the flat spots, and they tend to be louder from the start. In Mission Viejo’s summer heat, steel rollers also expand slightly, which can make a marginal roller bind in the track on hot afternoons and free up again when temperatures drop.
One practical note on roller replacement: a homeowner can safely replace the bottom rollers on many doors, because those rollers are in the fixed bottom bracket and don’t carry spring tension. The top and middle rollers ride in hinge tubes, which do carry spring tension on extension-spring doors. On torsion-spring doors, roller replacement is generally safe for most positions, but the bottom bracket cable connection should always be checked before and after. If any doubt exists about the spring system or cable attachment, this is a professional call.
Track Cleaning and Alignment in Mission Viejo’s Climate
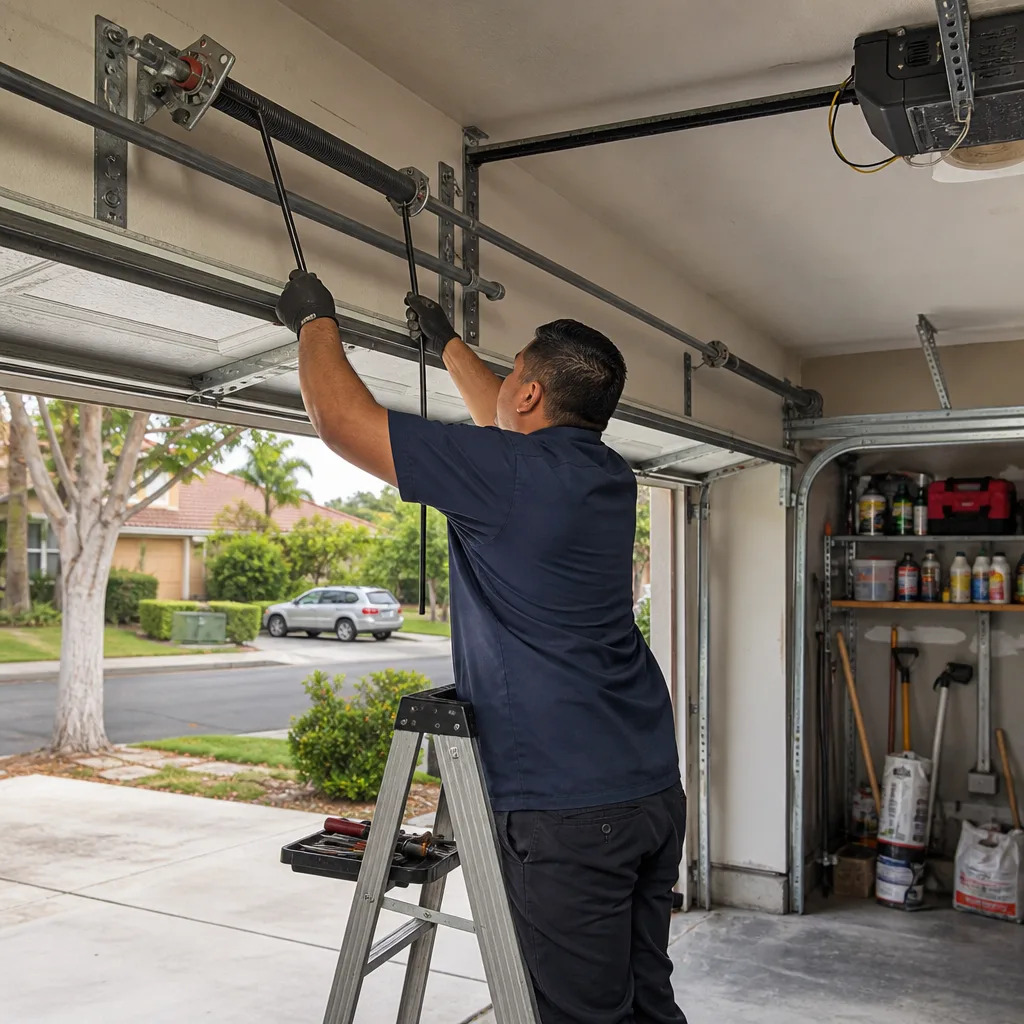
Mission Viejo’s garage doors live in a specific environment: hot, dry summers with occasional Santa Ana wind events, and mild but sometimes damp winters. That climate produces a particular problem – fine dust and windblown debris accumulates inside the track channels, and when winter moisture arrives, that dust becomes a paste that increases friction between roller and track. A track that operates smoothly in July can bind in January for no other reason.
Here’s the cleaning and alignment sequence we recommend:
- With the door closed, inspect the vertical track on both sides. Measure the gap between the track and the door edge at top, middle, and bottom of each side. The gap should measure within 1/8 inch of identical at all six points.
- Use a damp rag, not a solvent spray, to wipe the inside channel of the track where the rollers ride. Do not apply grease or any wet lubricant to the track. Track lubricants collect dust and turn to grinding paste within weeks in this climate.
- Check the track brackets where they attach to the wall and ceiling. Look for any bolt that has backed out or any bracket that shows movement when the door passes. A loose bracket changes the track gap as the door moves, and that changes roller loading.
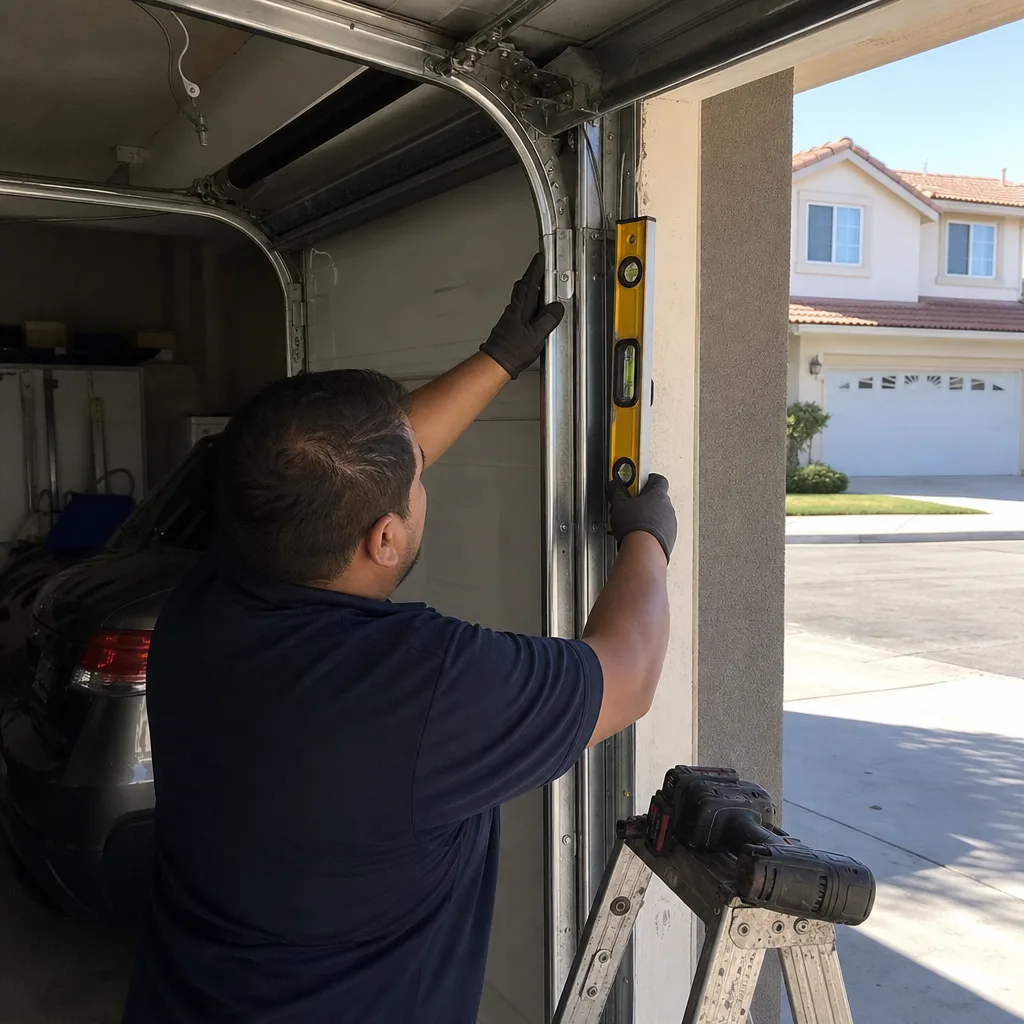
- On horizontal tracks above the car, look for a bend or kink where the track transitions from vertical to horizontal. This is where force concentrates when a door is pulled by hand against a stuck opener, and it’s the most common track damage location in Mission Viejo garages.
Pass/fail conditions: Track gap variance over 1/8 inch between measurement points is a fail. Loose track brackets are a fail. Any visible bend or kink in the track is a fail. A track that’s dirty but straight passes cleaning; a track that’s visibly out of parallel does not pass and needs professional adjustment.
Track alignment issues don’t typically snap cables or break springs on their own, but they accelerate roller wear and place uneven load on the door sections. Over a year or two of daily use, that uneven load produces panel cracks around the hinge points, especially on the top section, which flexes most when the door opens. Mission Viejo doors in south-facing garages, which run hotter in summer, are more prone to this because the panel material expands and contracts more dramatically over the daily temperature swing.
If you’re considering a bigger upgrade than maintenance, our Garage Door Installation in Mission Viejo article outlines what a full replacement involves and how to evaluate whether repair or replacement makes more financial sense.
Why October Is the Highest-Yield Month for Lubrication in Mission Viejo
Mission Viejo sits in a climate where temperature swings between October and December do more to metal than any other period of the year. The average daytime high drops from the low 80s in September to the high 60s by Thanksgiving, and metal components contract as they cool. That contraction tightens the relationship between hinge pins, roller bearings, and track surfaces, increasing the force your opener must produce to move the door. A properly lubricated door absorbs that increased strain without complaint. A dry door wears faster during this window than at any other time of year.
Here’s what to lubricate and, just as importantly, what not to lubricate:
- Hinge pins: One drop of lightweight machine oil on each hinge pivot point. Two to three times per year is sufficient in Mission Viejo’s climate.
- Torsion spring coils: Spray lithium grease along the full length of the spring with the door closed. The fresh grease doesn’t just reduce friction between coils as the spring winds and unwinds; it also helps protect the spring steel from the salt-tinged air that reaches Mission Viejo from the coast.
- Roller bearings: If your rollers have exposed bearings, one drop of oil on each bearing twice per year. If your rollers are sealed nylon units, skip them – oiling sealed bearings does nothing, and it attracts dust to the nylon surface.
- Opener chain or screw drive: Follow the manufacturer’s specification. Most chains need a light coat of lithium grease annually. Screw drives need a specific grease that varies by brand. This is one place where the manual matters more than intuition.
Do not lubricate the track itself. The rollers ride on the track surface and don’t need it, and any lubricant you apply there will collect Mission Viejo’s fine windblown dust and form an abrasive slurry within weeks. The same applies to the inside of the track channel and any nylon-to-metal contact surface.
One more piece of October-specific advice: if your garage is uninsulated, the temperature inside the garage can swing 30 degrees or more between night and midday in October. That cycling causes condensation on bare metal parts on damp mornings, and the condensation accelerates surface rust on springs, cables, and hinge plates. The October lubrication pass, done before the damp mornings begin in earnest, creates a moisture barrier that pays dividends through the winter.
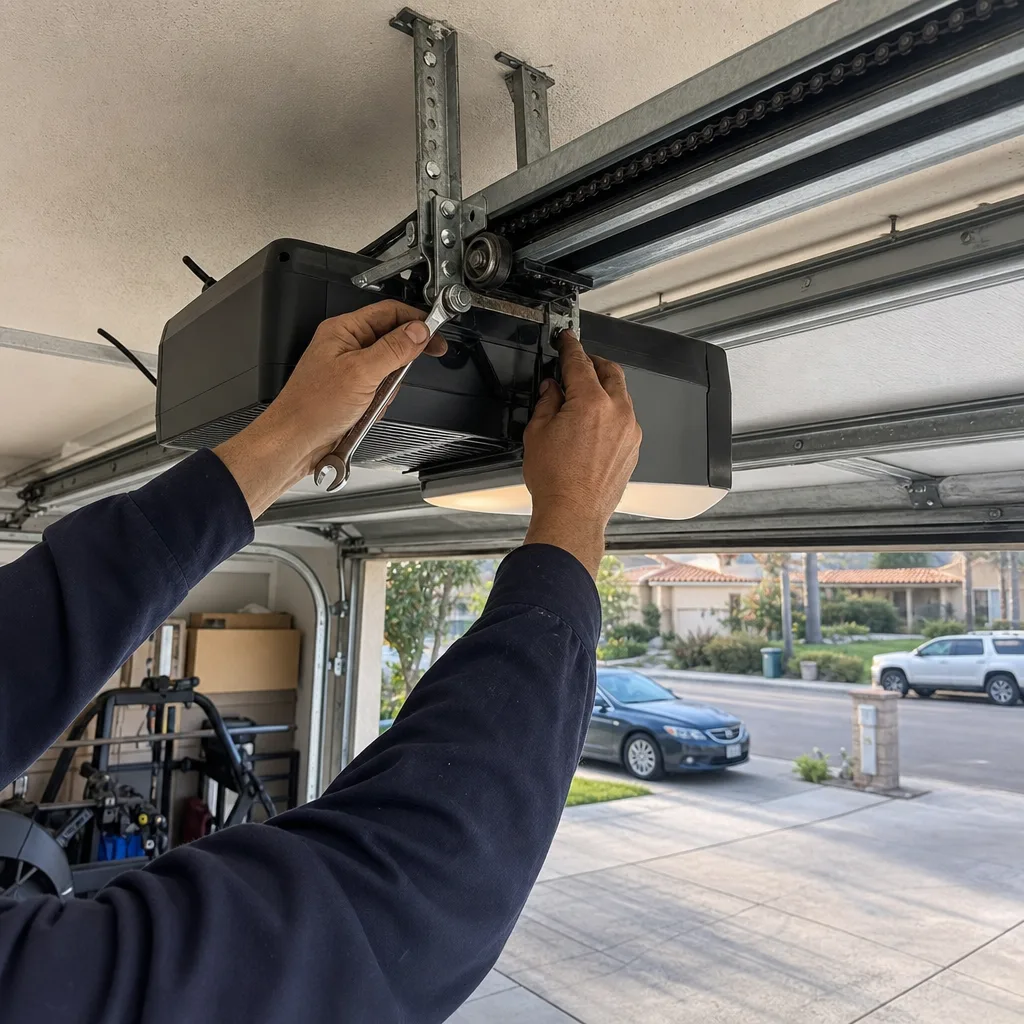
For opener-specific lubrication and maintenance details, we have a dedicated piece on Garage Door Opener Repair & Installation in Mission Viejo that covers the common failure modes we see on LiftMaster and Chamberlain units in this area.
The Manual Disconnect Test: What Door Drift Speed Actually Tells You

Most balance tests tell you to disconnect the opener and manually lift the door to see if it feels heavy. But “feels heavy” is subjective and doesn’t distinguish between a door that’s slightly out of balance and a door that’s on the edge of spring failure. The measurement that matters is drift speed – how quickly the door moves on its own when released at the halfway point.
Here’s how to run the test correctly:
- Close the door. Pull the red manual release cord hanging from the opener rail. This disconnects the door from the opener carriage.
- Lift the door manually to the halfway-open position. The door should move with moderate effort – not effortless, not a struggle.
- Release the door at the halfway point and observe what it does, hands off.
What drift speed tells you:
- Pass: The door holds at the halfway point or drifts less than 6 inches in either direction over 5 seconds before settling. Springs are carrying their rated share of the door’s weight, and the system is balanced.
- Watch: The door drifts downward 6 to 18 inches in 5 seconds. The springs are below optimal tension. The opener is currently compensating, which increases wear on the opener motor, gears, and logic board. This is a documented condition worth checking again in 60 days.
- Fail: The door falls more than 18 inches in 5 seconds, slams downward, or requires significant effort to lift above the halfway point. A door that drifts downward is under-sprung and the opener is working far harder than it was designed to. A door that pulls upward is over-sprung and can hang at the top of the travel. Either condition means spring replacement or adjustment is required.
In Mission Viejo, this test is worth running every October and April, timed with the seasonal temperature changes. The spring steel expands and contracts with temperature, and a door that was perfectly balanced in August can drift downward noticeably in January as the spring loses a small amount of tension to the cold. For most homeowners, the seasonal drift is small enough to pass the test. When it isn’t, that’s your signal that the spring has entered its final stretch of service life.
Don’t forget to reconnect the opener after the test by running it through a full open cycle with the manual release re-engaged. Running the opener while disconnected produces a rattling noise and no movement, which is an easy false alarm if you forget.
Which Maintenance Mistakes Void Opener Warranties
Garage door opener manufacturers include maintenance clauses in their warranty documents, and some of them are specific enough that homeowners violate them without realizing it. Here are the mistakes we’ve seen void warranties on LiftMaster, Chamberlain, and Craftsman units in Mission Viejo:
- Wrong lubricant on the drive mechanism: Chamberlain and LiftMaster warranties specifically exclude damage caused by non-specified lubricants. Using WD-40 on a chain drive or applying grease to a belt drive can void coverage. Read the manual and use only the product specified.
- Using the opener with a visibly unbalanced door: Every major opener warranty excludes damage resulting from operation with an improperly balanced door. Running a drift-test fail for six more months and then burning out the motor will not be covered.
- Modifying force settings to force a struggling door to close: The diagnostic information stored in the opener’s memory records force adjustments. If the door was struggling because of a spring problem and you increased the force limit to compensate, the resulting motor or gear failure is excluded.
- Replacing parts with non-OEM components where specified: Some logic board warranties require OEM replacement parts. A generic aftermarket board may work, but if the unit fails again, the manufacturer will decline the claim.
- Improper lubrication of nylon rollers with petroleum products: Petroleum-based spray lubricants degrade nylon over time. Nylon rollers paired with the wrong lubricant can fail faster than unlubricated rollers. The correct product for nylon is silicone-based, not lithium or petroleum.
The opener warranty issue matters in Mission Viejo because the city’s garage doors see heavy daily use. Many homeowners here have multiple vehicles and the door cycles four to eight times per day, sometimes more. That’s 1,500 to 3,000 cycles per year on an opener rated for 10,000 to 15,000 cycles. The average Mission Viejo opener reaches its rated cycle life in four to seven years, and warranty coverage during that window matters.
Documenting Your Inspection: The Photo Record Method
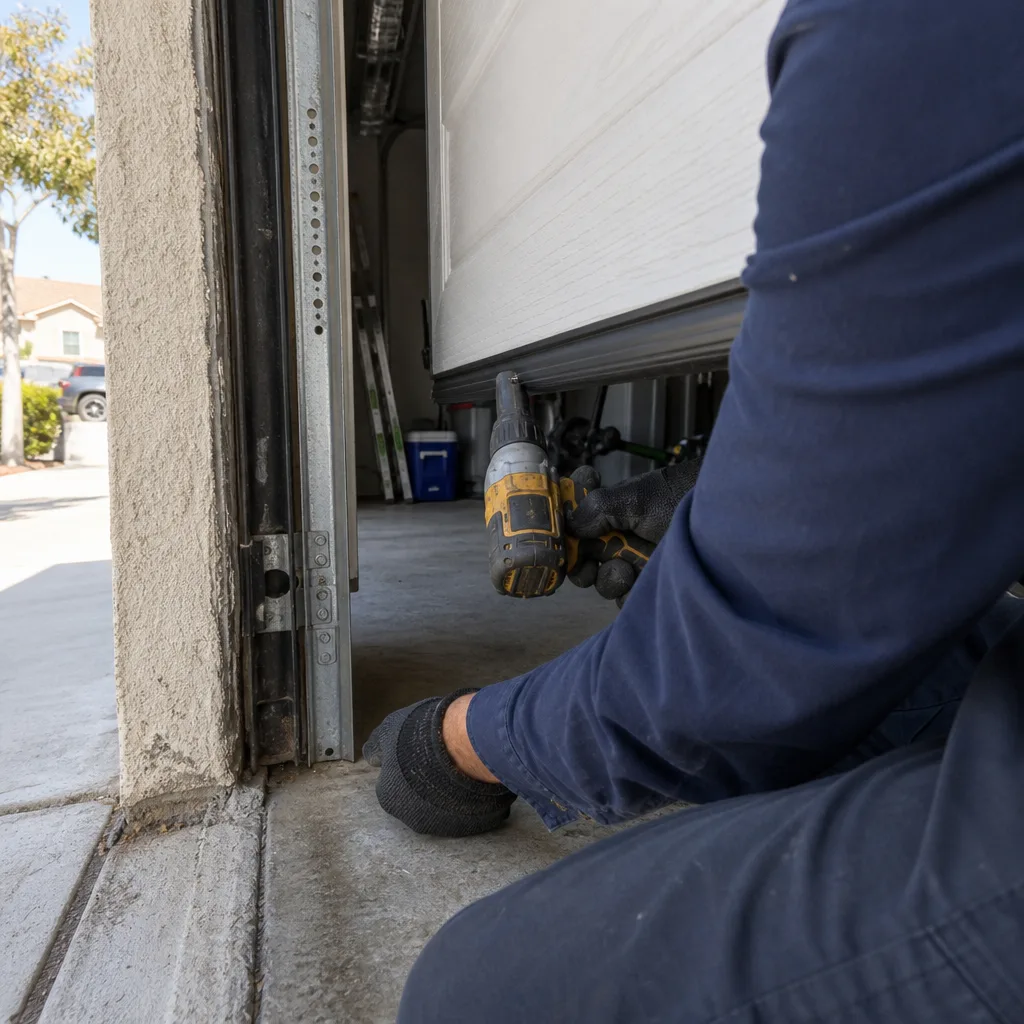
We built Servo Garage Doors around a simple rule: the customer sees the failed part before anyone quotes a replacement. For more guides & resources like this one, visit our blog. That rule is Clause 4 of The Haven Standard, the written operating standard we work under. It’s not a marketing tactic. It’s a recognition that evidence changes the conversation. When you can see the broken spring in a photo, you don’t need to trust anyone’s opinion about whether it’s broken.
You can apply the same principle to your own maintenance record, and it’s the most useful habit in this entire guide. Here’s how:
- Take photos of the following items on every inspection: the torsion spring (full length), each cable at the bottom bracket, the roller faces on both sides, the track at the transition bend, and the opener unit showing the logic board area.
- Date each photo or file it in a dated folder. Your phone does this automatically if you file photos the day you take them.
- Re-photograph the same angles at each inspection. The value is in the comparison: the spring gap photo from October next to the same angle from the previous April tells you exactly how fast the gap is growing.
- When a repair quote comes in, show the technician the photo history. A technician who can see the baseline condition and the progression of wear can quote with more confidence, and you can verify the diagnosis against what your own camera recorded.
We’ve seen this practice catch problems that a visual-only inspection misses. A Mission Viejo homeowner showed us three years of spring photos during a service call, and the progression of gap growth made the replacement decision obvious. No persuasion was required. The documentation did the persuading, which is exactly how it should work.
Common Mistakes to Avoid
- Lubricating the track. This is the most common maintenance error we see in Mission Viejo garages. The track needs to be clean, not lubricated. Any wet product applied there becomes an abrasive paste within weeks and accelerates roller wear.
- Testing balance with the door at the fully open position. The balance test only produces useful information at the halfway point. A door can pass at the top and bottom and still fail dramatically mid-travel, because that’s where the spring’s tension is most variable.
- Ignoring a one-inch spring gap because the door still opens. The door will keep opening until the spring snaps, and when a spring snaps, the door often falls on the cable that’s still attached, ripping it out of the bracket and dropping the door’s full weight onto whatever is below it.
- Using petroleum spray on nylon rollers. Nylon and petroleum products don’t mix. The nylon degrades, surface cracks appear, and the roller fails faster than it would have with zero maintenance. Silicone is the correct product for nylon.
- Resetting the opener’s force settings instead of investigating why the opener needed more force. The force setting is a diagnostic readout telling you that something changed in the system. Overriding it masks the problem and transfers the wear to the opener motor.
- Inspecting in a hurry and calling it done. Most checklists fail because they’re completed without measurement. If you didn’t measure the gap, count the strands, or time the drift, you didn’t inspect anything. You just looked at a garage door.
- Painting over rust on cables or springs. Paint hides the condition; it doesn’t fix it. Rust on a spring or cable needs to be assessed for depth and strand damage, and painting simply makes that assessment harder for the next inspection.
When to Call a Professional
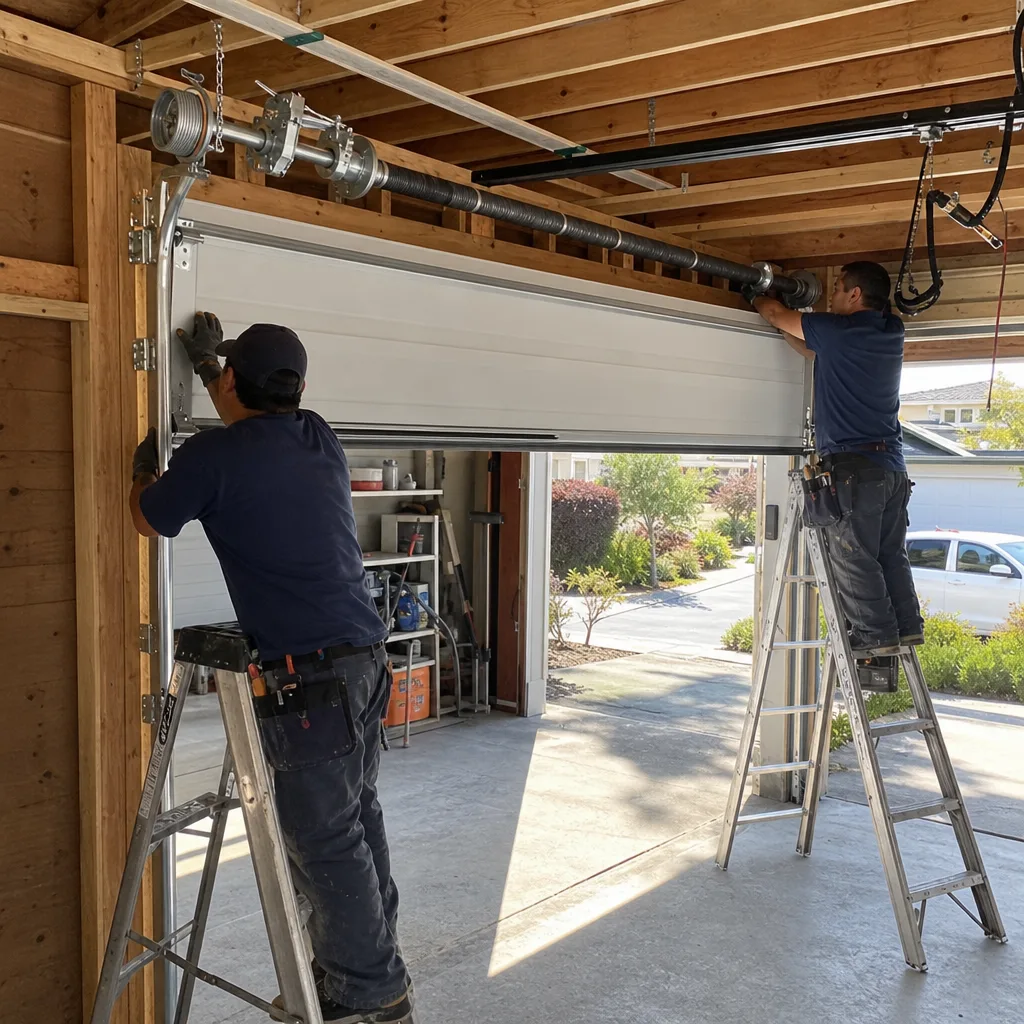
Call a professional when your inspection finds any fail condition: a spring gap over 1/8 inch, three or more broken cable strands, a visible roller flat spot, a failing manual disconnect test, or a track that’s visibly out of parallel. These are all repair conditions, not monitoring conditions. Call also if your door is stuck open or closed with a suspected spring or cable failure – do not attempt to move it. We serve Mission Viejo and the surrounding area with repair, installation, and opener work, and we offer free estimates on every service call. Servo Garage Doors Mission Viejo works under The Haven Standard, which means a flat written price and written scope before any work begins, plus a documented photo record when the job is done. Reach us at (657) 293-2416. For a broader look at what repair involves, see our Garage Door Repair in Mission Viejo page, or visit the Servo Garage Doors Mission Viejo home page for an overview of what we do.
Frequently Asked Questions
Lubricate hinge pins, torsion springs, and exposed roller bearings twice per year, with the highest-yield application in October before the seasonal temperature drop that begins in late fall and strains metal components. Run the full inspection checklist, including the spring gap measurement and manual disconnect test, every six months. Mission Viejo’s coastal-adjacent air accelerates corrosion on exposed steel, so doors here benefit from slightly more frequent visual inspection than inland cities. Call (657) 293-2416 if an inspection finds anything that needs professional attention.
You can safely perform all visual inspection tasks, track cleaning, hinge lubrication, and the manual disconnect test described above. You should not attempt spring replacement, cable replacement, track realignment, or any task that involves releasing spring tension. Torsion springs store enough energy to cause serious injury or death if mishandled, and cable replacement under tension carries similar risk. Run the inspection yourself, then call a professional for any repair condition you find.
Measure the gap between the coils on the torsion spring. A healthy spring has coils flush against each other. Gaps over 1/8 inch at any point along the spring length indicate the spring has entered the late stage of its service life and is a replacement condition. A spring that has developed gaps after previously reading zero is even more urgent. Most Mission Viejo garage door springs last 10,000 cycles, which translates to 7 to 10 years for the average homeowner here.
Use lithium grease on torsion spring coils and metal hinge pins. Use silicone-based lubricant on nylon rollers and any nylon-to-metal contact point. Do not use WD-40 or any petroleum-based product on nylon rollers, as it degrades the nylon and shortens roller life. Do not lubricate the track at all – Mission Viejo’s fine, windblown dust combines with wet lubricants to form an abrasive paste that accelerates wear on rollers and track surfaces.
A rhythmic bang or thump at the same point in the door’s travel usually indicates a flat spot on one or more rollers. The flat portion of the wheel contacts the track once per revolution and sends a jolt through the door. The fix is roller replacement, not track adjustment. If the bang comes from the top of the door near the opener, it may be a broken spring coil slapping against itself. Call (657) 293-2416 for a professional diagnosis – estimates are free.
Routine maintenance, parts replacement, and same-size door replacement do not require permits in Mission Viejo. Structural modifications to the garage opening, such as widening the opening or replacing a load-bearing header, may require permits through the City of Mission Viejo Building Division. A standard repair or replacement performed by a licensed contractor needs no municipal paperwork. We handle all repair and replacement work without permit requirements in typical cases.
The Bottom Line
A garage door maintenance checklist only earns its place on your calendar if it produces measurements you can act on. Spring gap in fractions of an inch. Broken cable strands counted one by one. Roller flat spots seen under a flashlight, not guessed at from a distance. Drift speed timed with a phone. Documented with dated photos so next year’s inspection has something to compare against. Run that checklist twice a year and you’ll catch the torsion spring that’s lost 20% of its tension before it strands your car in the driveway. When the inspection finds something that needs a professional, get a quote in writing before any work starts. That’s how we operate, and it’s the standard Mission Viejo homeowners should expect from anyone who works on their garage door.
Written by Marcus Deller, Owner at Servo Garage Doors Mission Viejo, serving Mission Viejo since 2015.